I've been curling my lashes wrong my whole life—here's how to *actually* do it
A make-up artist shares her expert advice

Celebrity news, beauty, fashion advice, and fascinating features, delivered straight to your inbox!
You are now subscribed
Your newsletter sign-up was successful
I have a confession to make: I’m terrified of eyelash curlers. After a rather misguided attempt to curl my own as a pre-teen resulted in some of my actual lashes being pulled out (I’m wincing as I type this) I have given lash curlers a pretty wide berth for fear of further damage being done, preferring to experiment with mascaras instead to create longer lashes. However, as I get older my lashes, which always had a pretty good natural curl, have become finer, sparser and straighter in texture. Combined with the fact that they’re on the short side (yes, I haven’t been blessed in the natural lash department) and I thought it was about time that I learned how to curl lashes properly to improve my chances of full, fluttery-looking lashes.
“Curling lashes can be stressful, time consuming when you are not confident with it, and if you are not using them correctly can come with a risk of lash damage,” explains celebrity make-up artist, Brooke Simons. However, eyelash curlers are an essential in every make-up artist’s kit and its because they have the ability to impart more lift and curl than even the best lengthening mascara alone can manage. And once you’ve honed your technique you won’t look back.
How to curl lashes
1. Inspect your eyelash curler
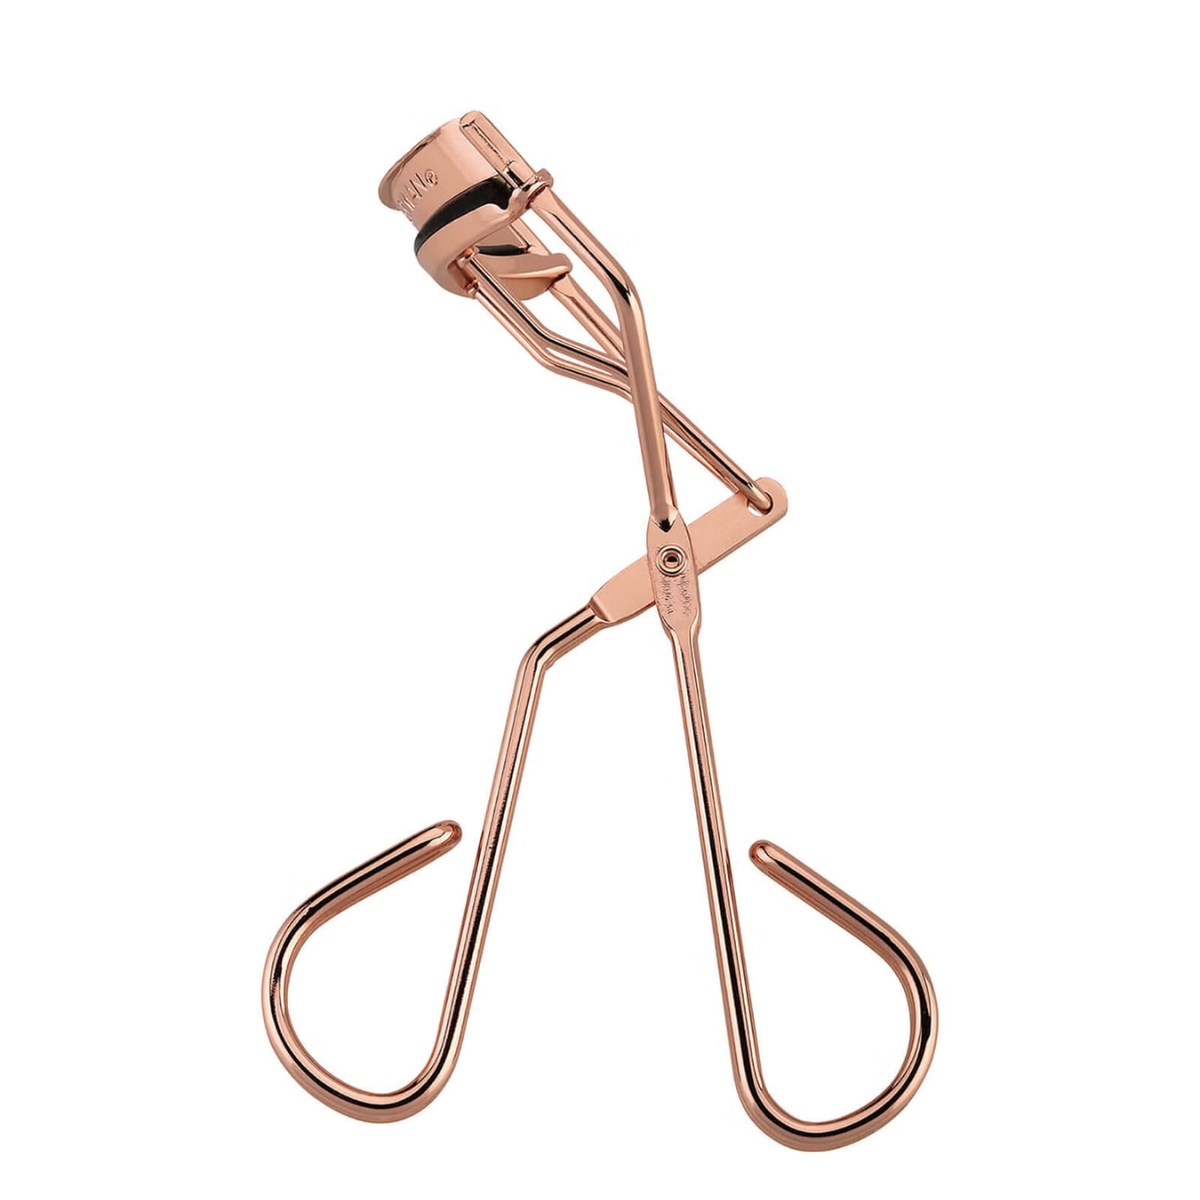
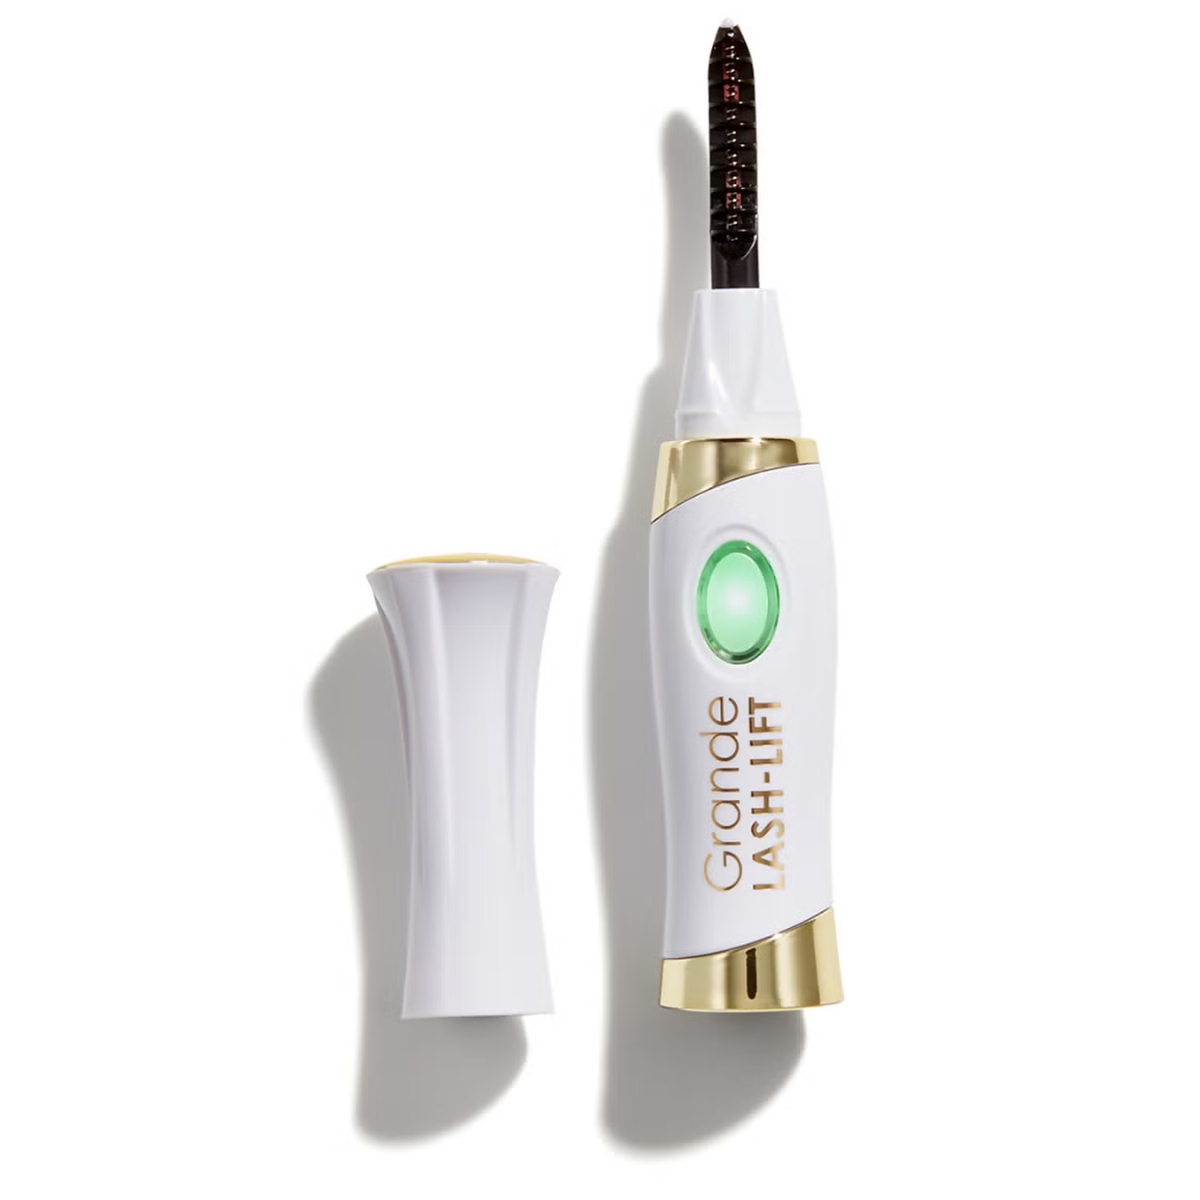
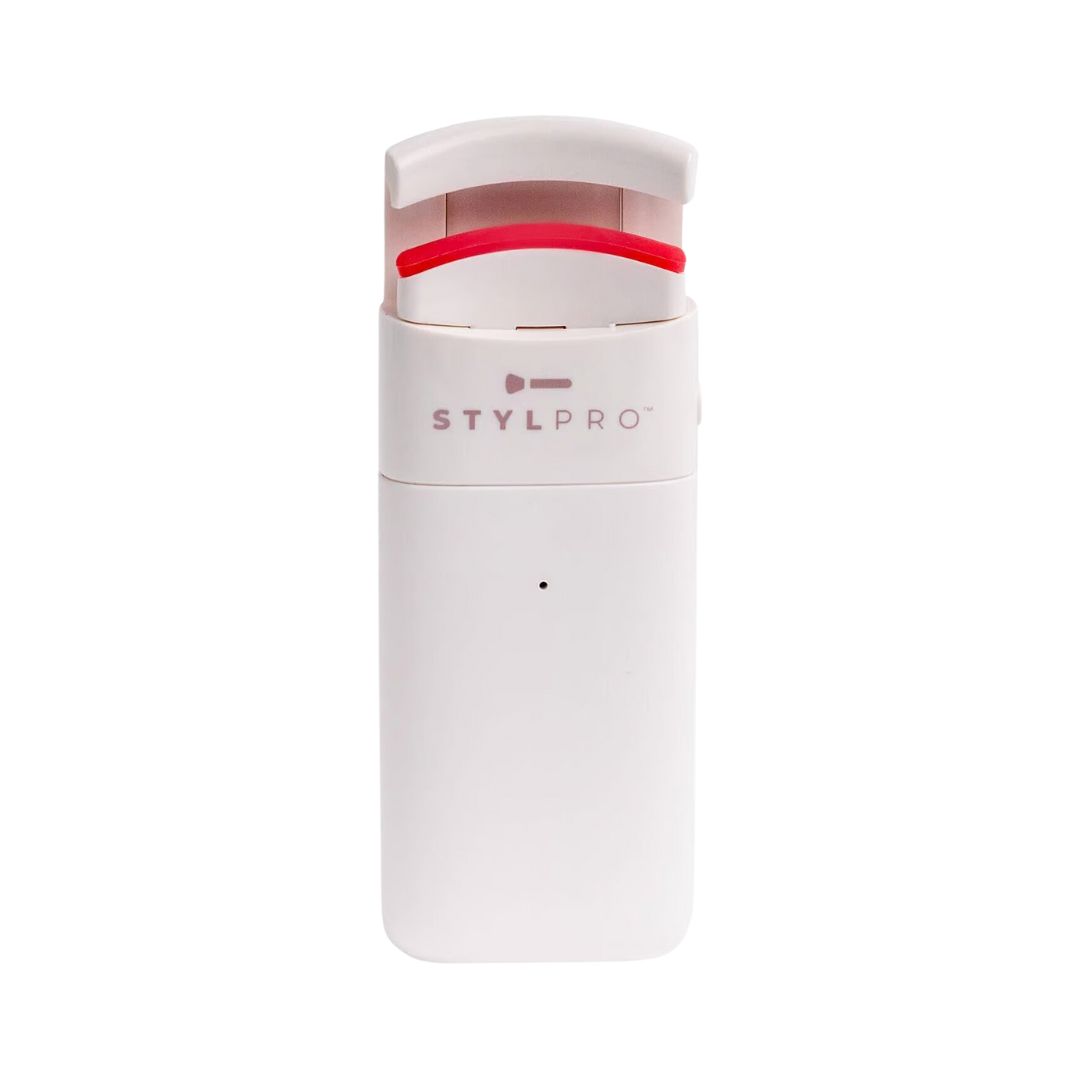
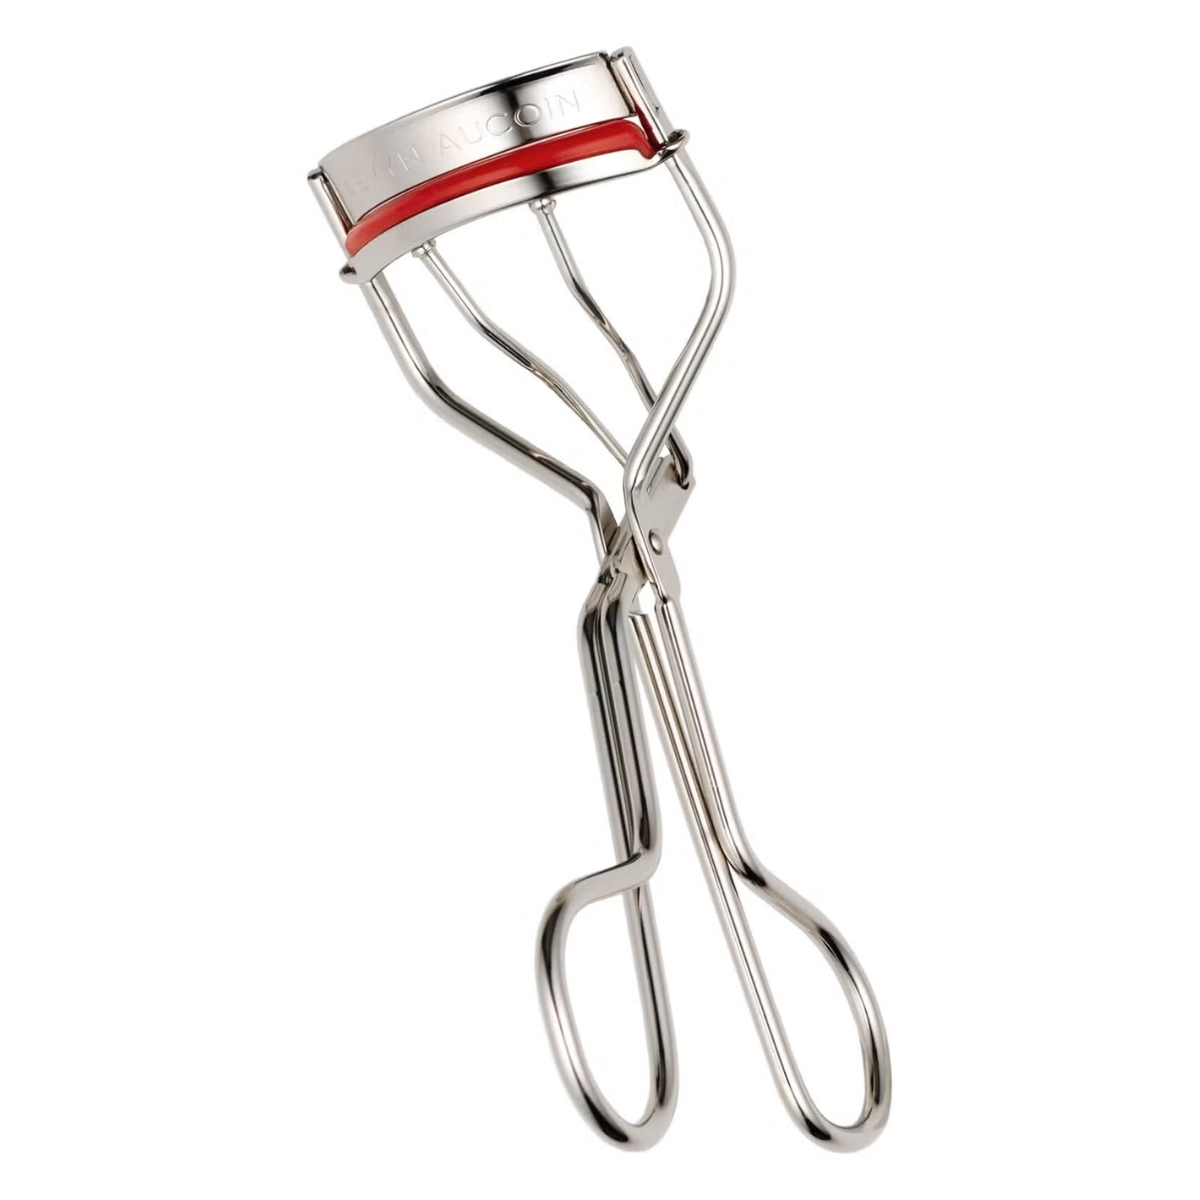
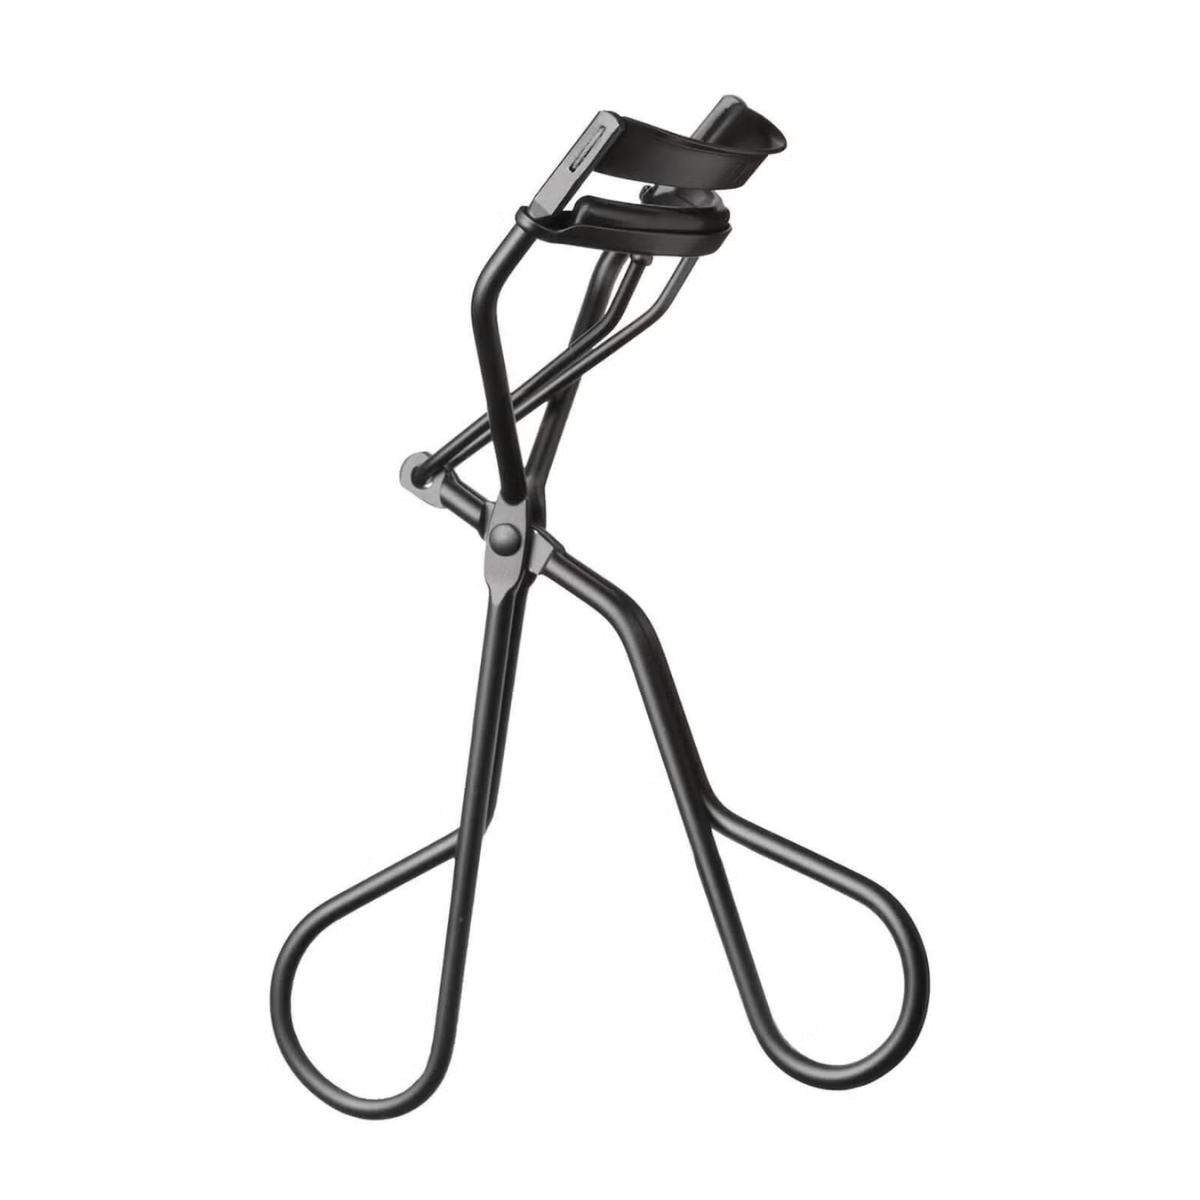
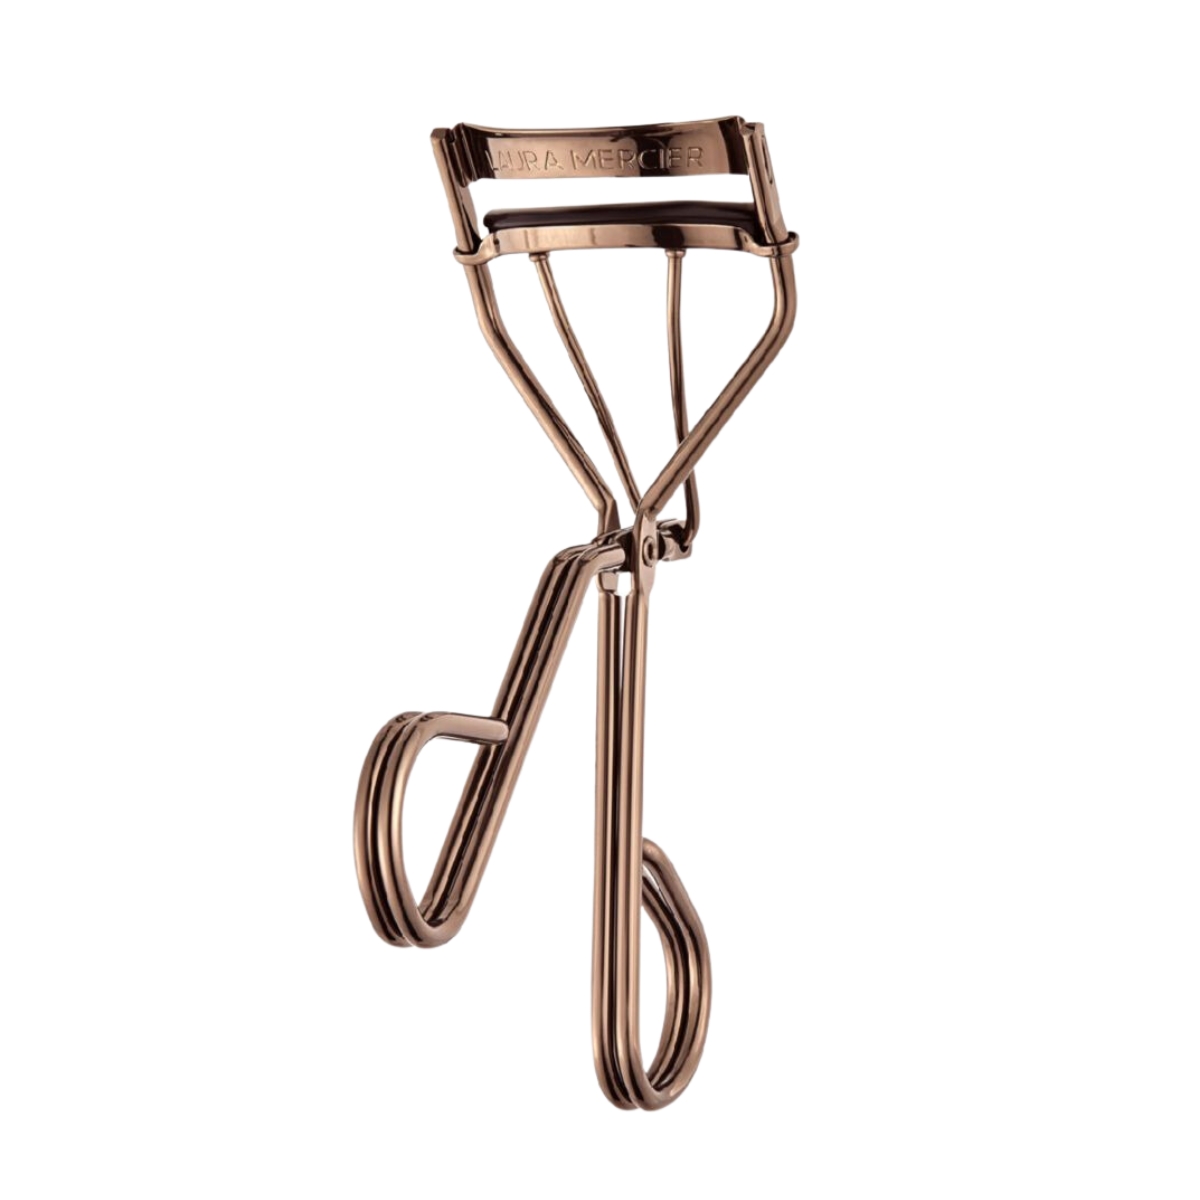
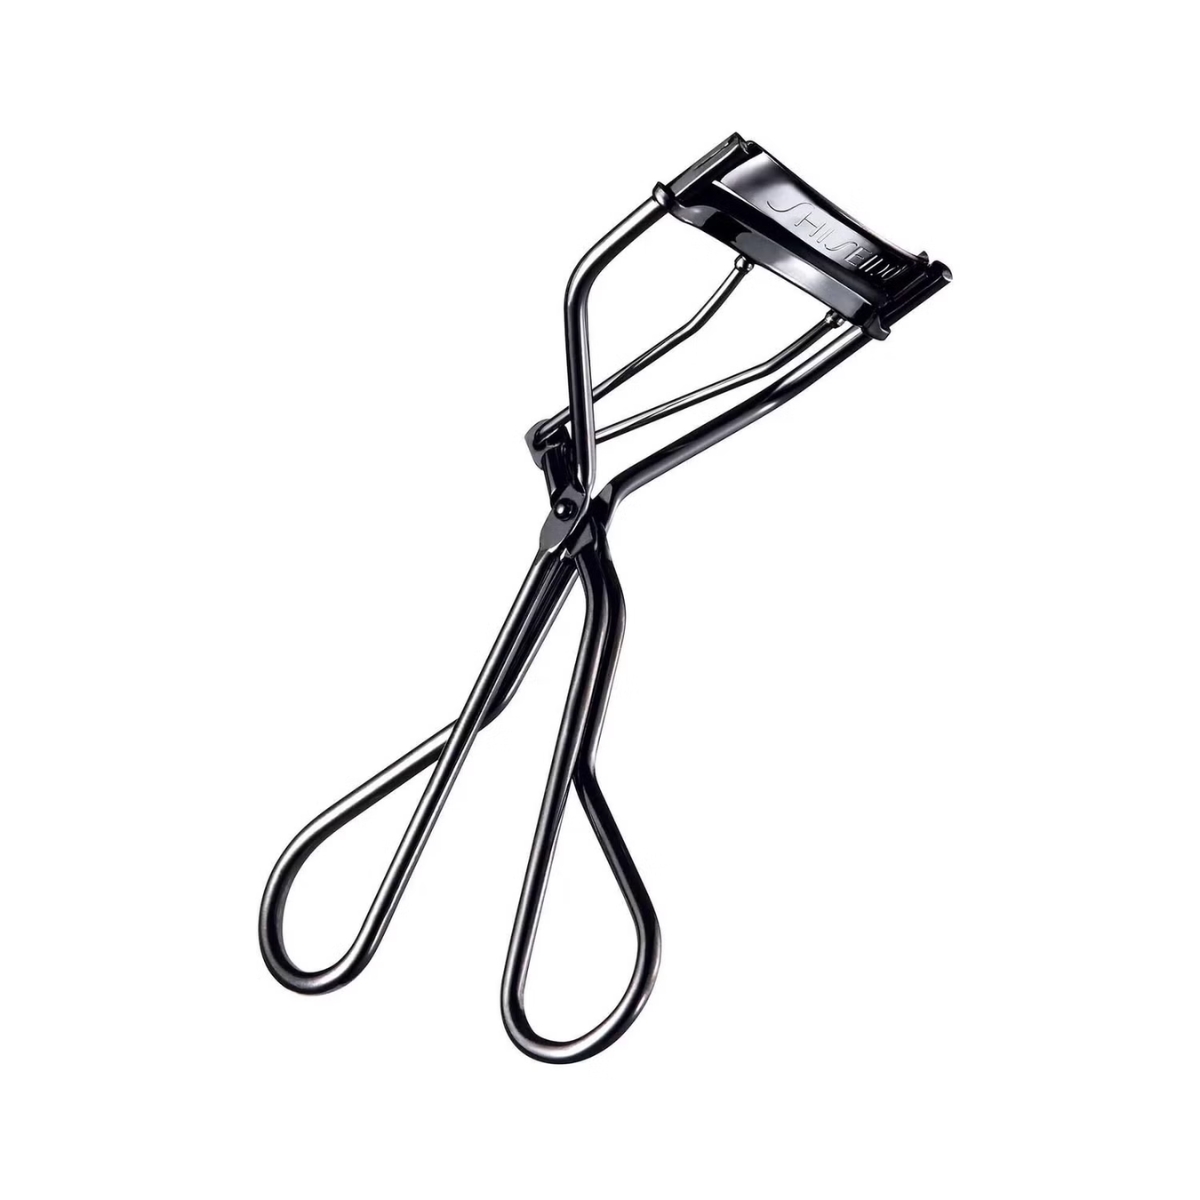
More important than the brand or style of eyelash curler that you’re going to be using is making sure that your tool is in full working order. “My best advice when curling your lashes using an eyelash curler is to first and foremost make sure that the rubber sponge is in place to ensure a safe process,” says Brooke. If that sponge or pad is missing then you run the risk of pinching your lashes too tightly and causing damage. However, if you are interested in an expert recommendation then Brooke swears by the Tweezerman Lash Curler and the Grande Cosmetics Heated Lash Curler.
2. Make sure your lashes are clean
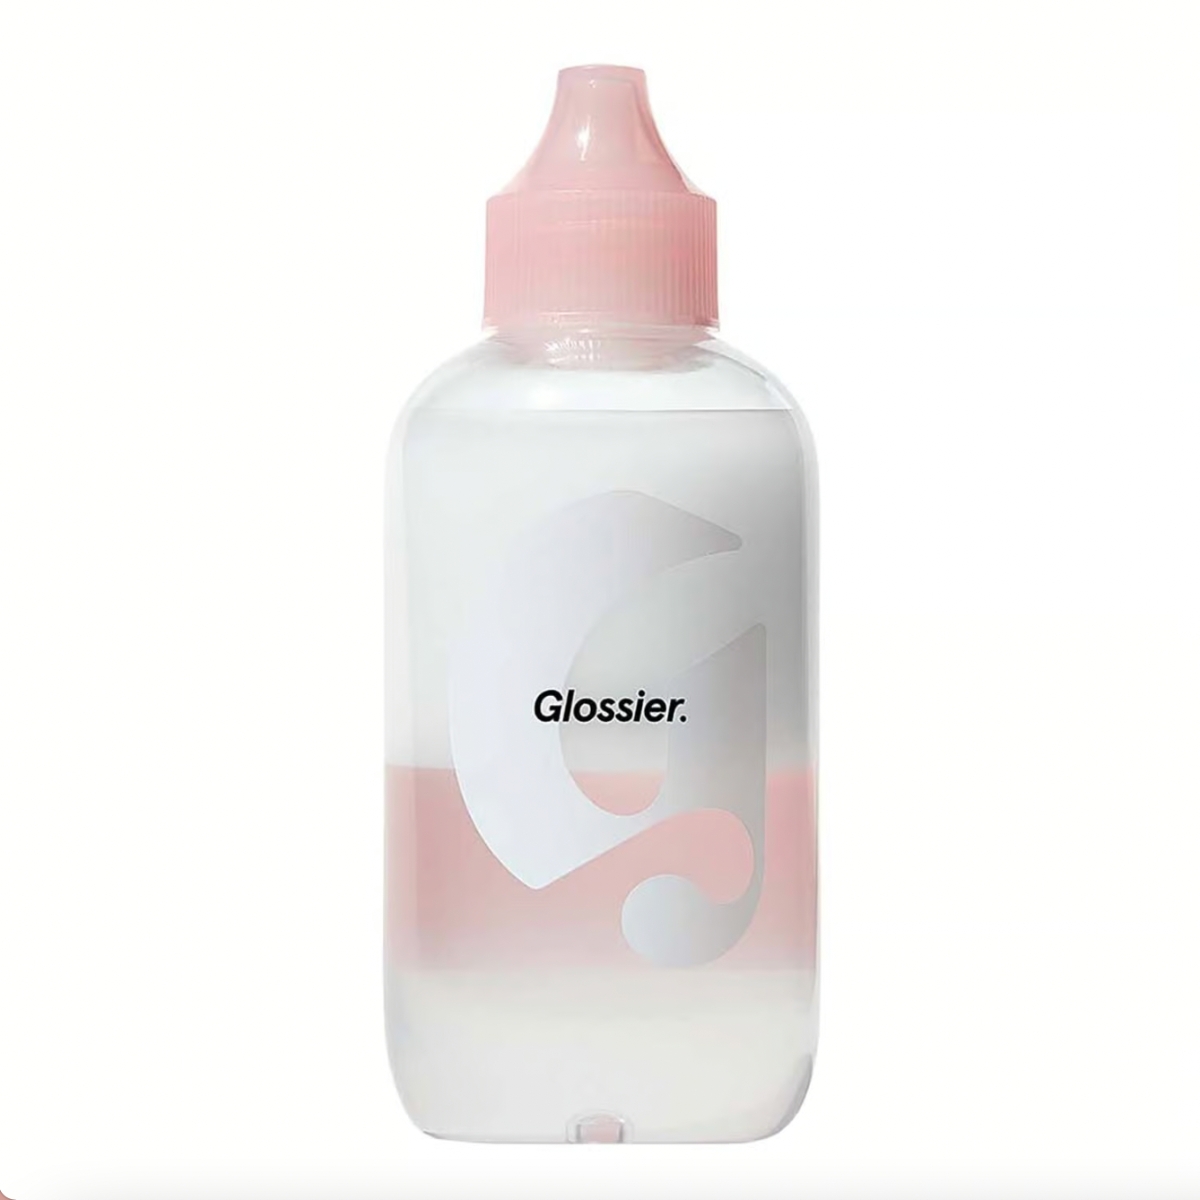
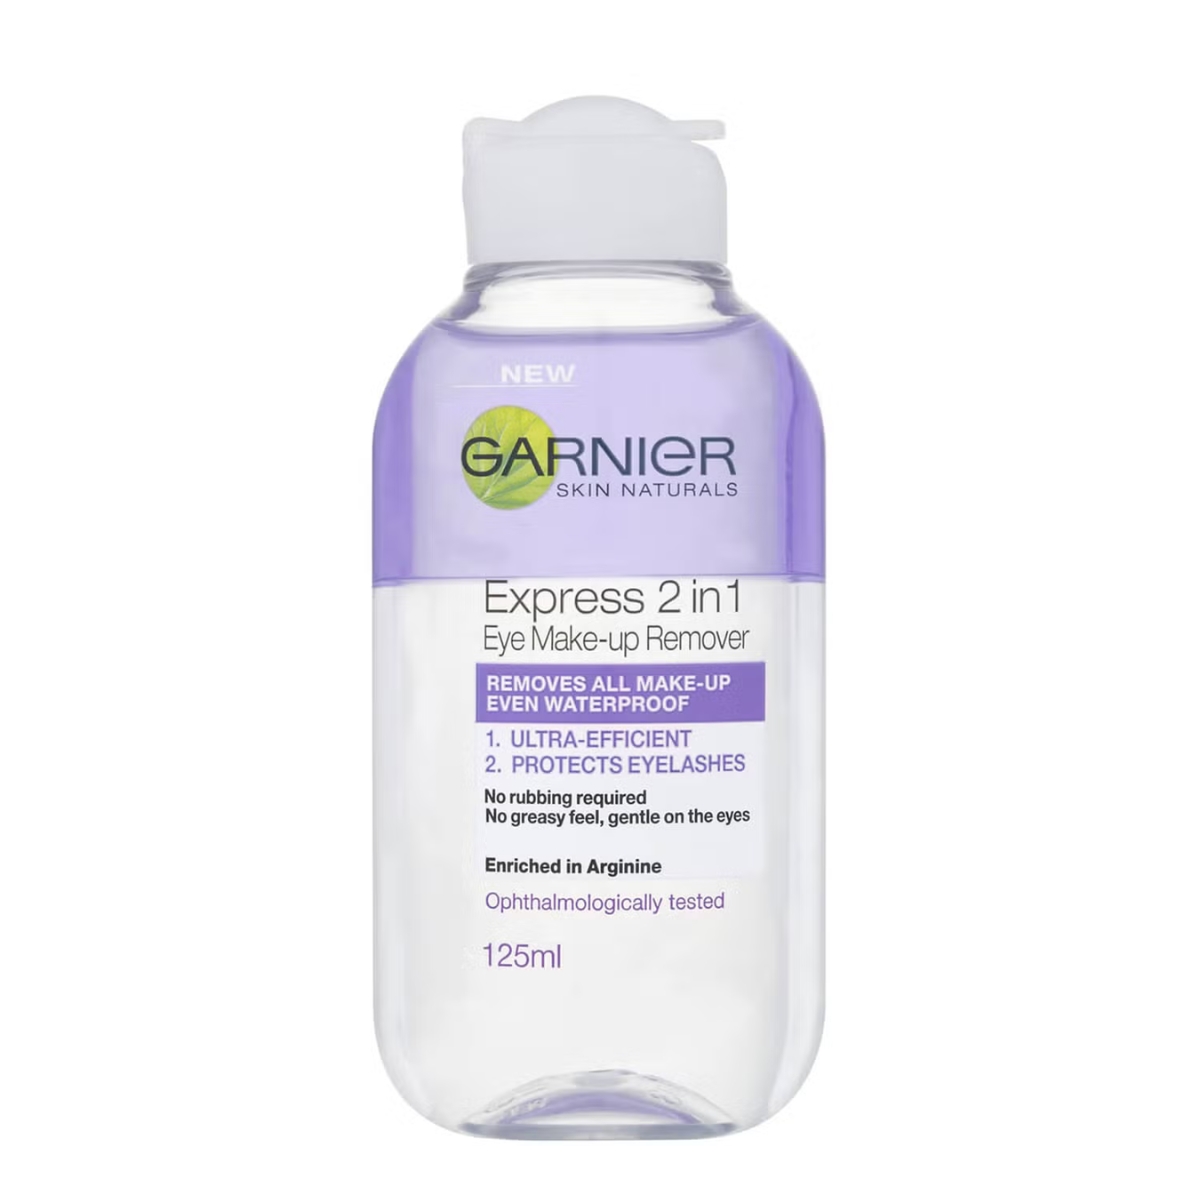
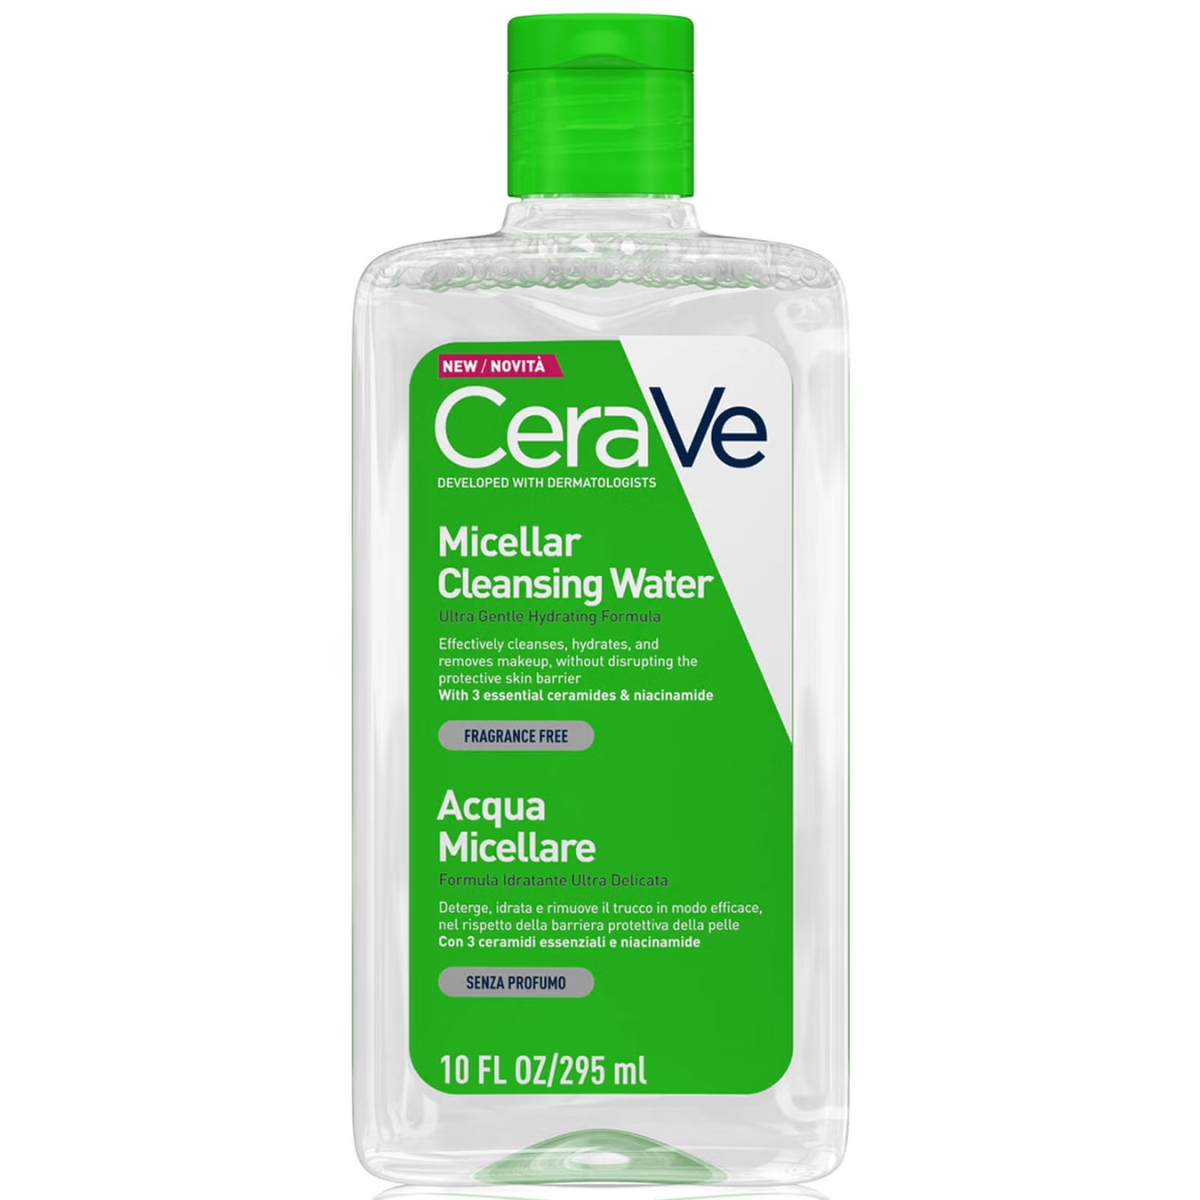
Before you get started on curling your lashes you should make sure that they are clean and totally free of make-up. “Do not ever curl your lashes after applying mascara,” says Brooke. “This can actually cause the curler to stick to your lashes and pull them away from the root, causing damage or loss.” Even if you’ve taken your make-up off the night before, it’s a good idea to wipe your eye area clean with a micellar water just to remove any traces of make-up.
3. Take your time
If you’re in a massive rush then it’s probably best to skip the eyelash curlers entirely, and if you’re learning how to curl your lashes then be sure to allow plenty of time to get to grips with it. “Really take your time to position your open lash curlers in place, getting as close to your lash line as you can,” explains Brooke. Be careful not to get too close, however, as you don’t want to end up pinching your skin. Once you’ve got the curler in place, you should squeeze the curler to create a bend in the lash. “Hold it for five to ten seconds, followed by a few gentle squeezes, then repeat if needed,” explains Brooke.
4. Reposition the lash curler
Those who have really straight or short lashes might require a little extra work to curl their lashes effectively. Once you’ve followed the previous step, Brooke suggests repositioning the curler further away from your eye. “Squeeze down again and repeat this step, working your way to the middle of your lash,” says Brooke. This technique should really help to curl straight lashes and lift shorter lashes upwards to open up your eyes.
5. Add heat
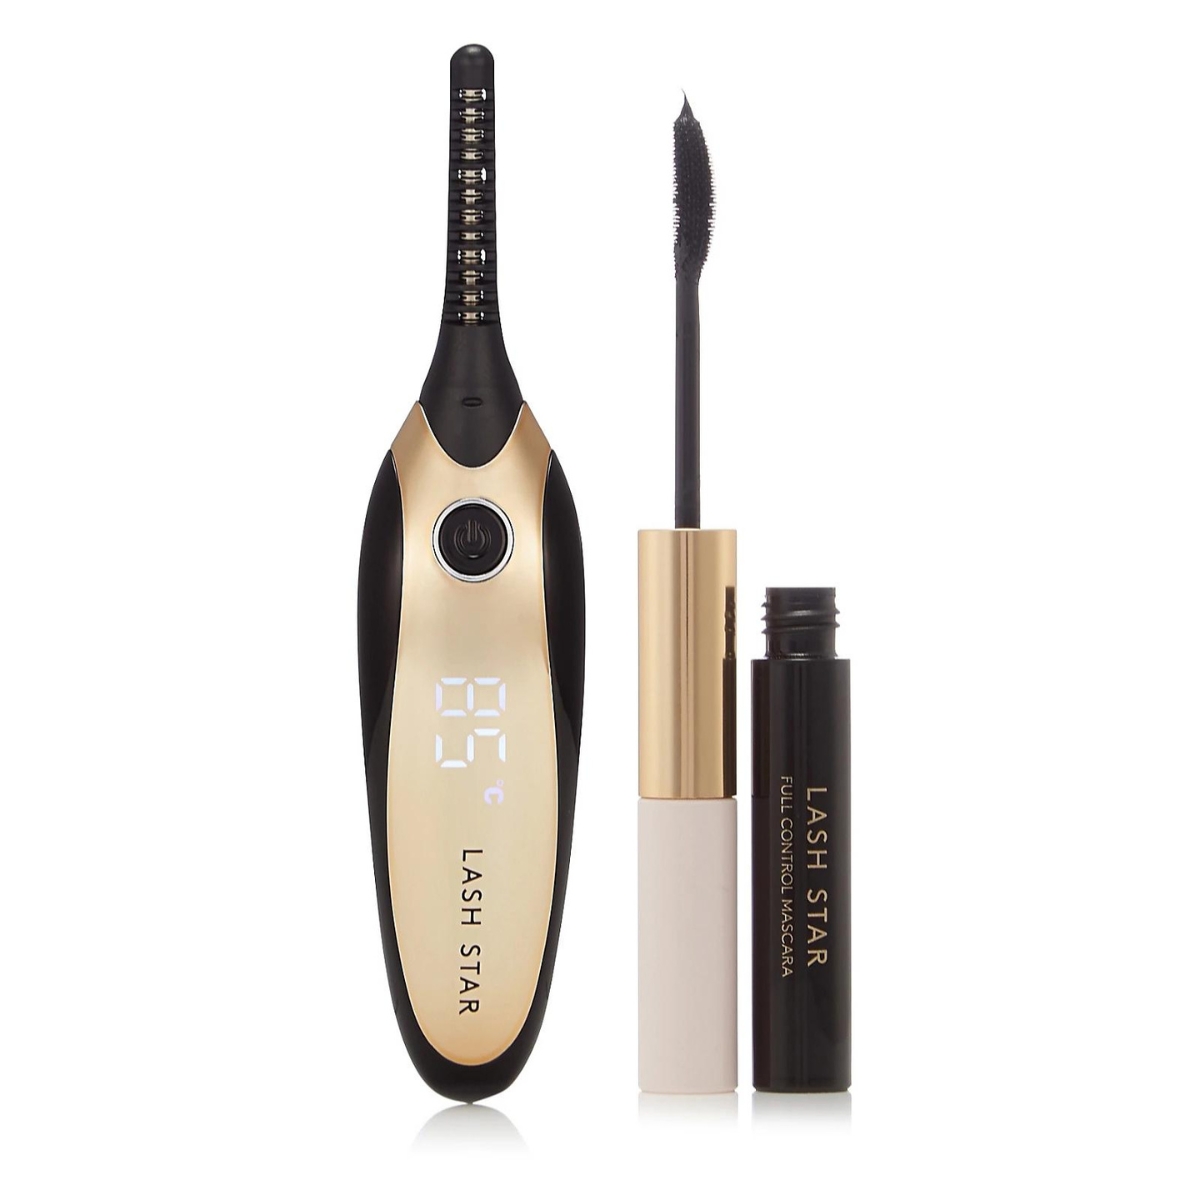
If your lashes really have trouble holding a curl then Brooke suggests that you can gently warm up your lash curler “to help it make its mark”. However, she stresses the importance of not making the curler too hot. A good way to do this is to simply hold the eyelash curler between your hands for a minute or two to warm it, or run it under a hot tap for a few seconds—but be sure to test it on the back of your hand to check its warm, and not scalding, to the touch.
Celebrity news, beauty, fashion advice, and fascinating features, delivered straight to your inbox!
Similarly, if you’re keen to curl your lashes but find the idea of using an eyelash curler a bit much then Brooke swears by heated lash curlers. “These can actually be used after mascara application and are so easy to use,” she says. “You simply bend the lashes upward with the curler and hold it for around 10 seconds to achieve a lifted look.
6. Layer on a waterproof mascara
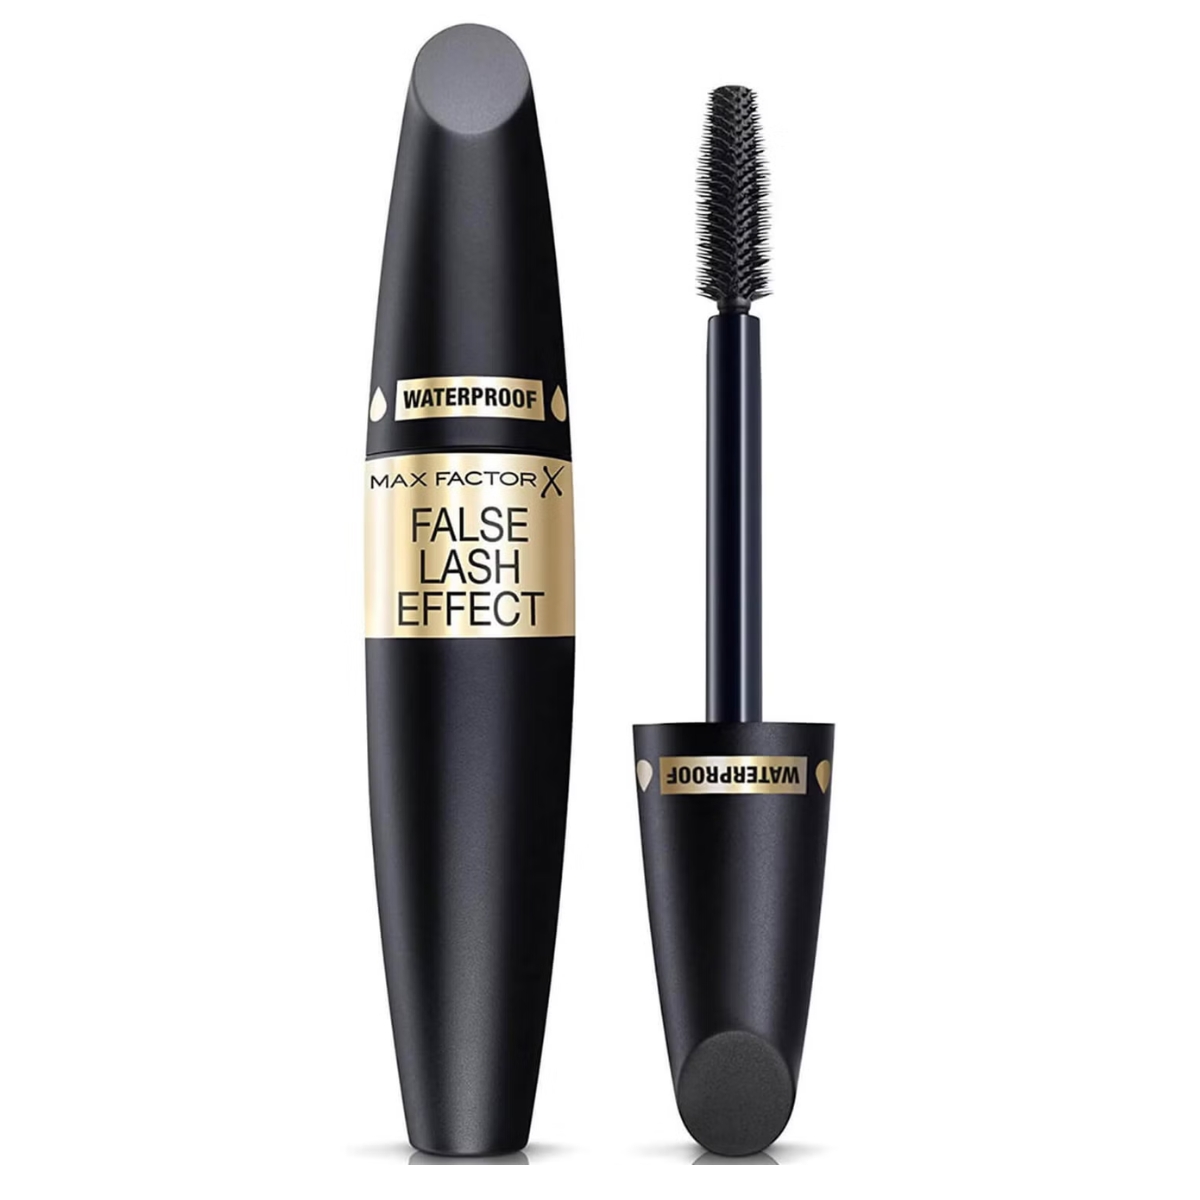
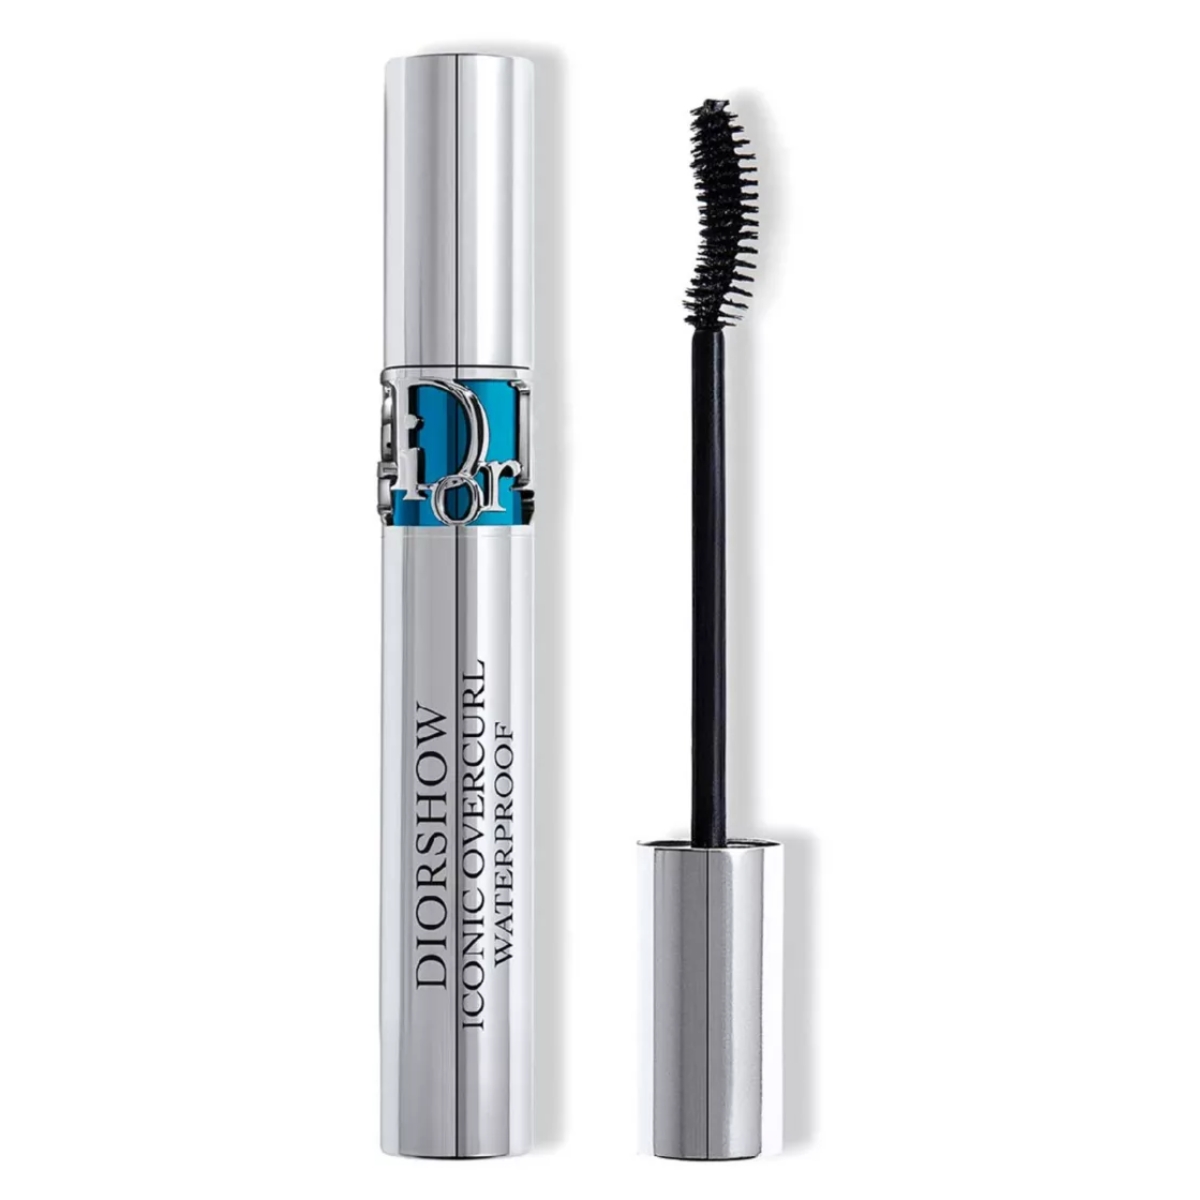
While learning how to curl lashes with an eyelash curler does help to impart a longer-lasting lift and curl, setting your hard work with a waterproof mascara is expert-recommended. “Sealing it with a waterproof formula helps to make that curl more long-lasting,” explains Brooke. Look for a formula that’s specifically formulated to curl lashes so you’re not counteracting your handiwork.
7. Clean your eyelash curler
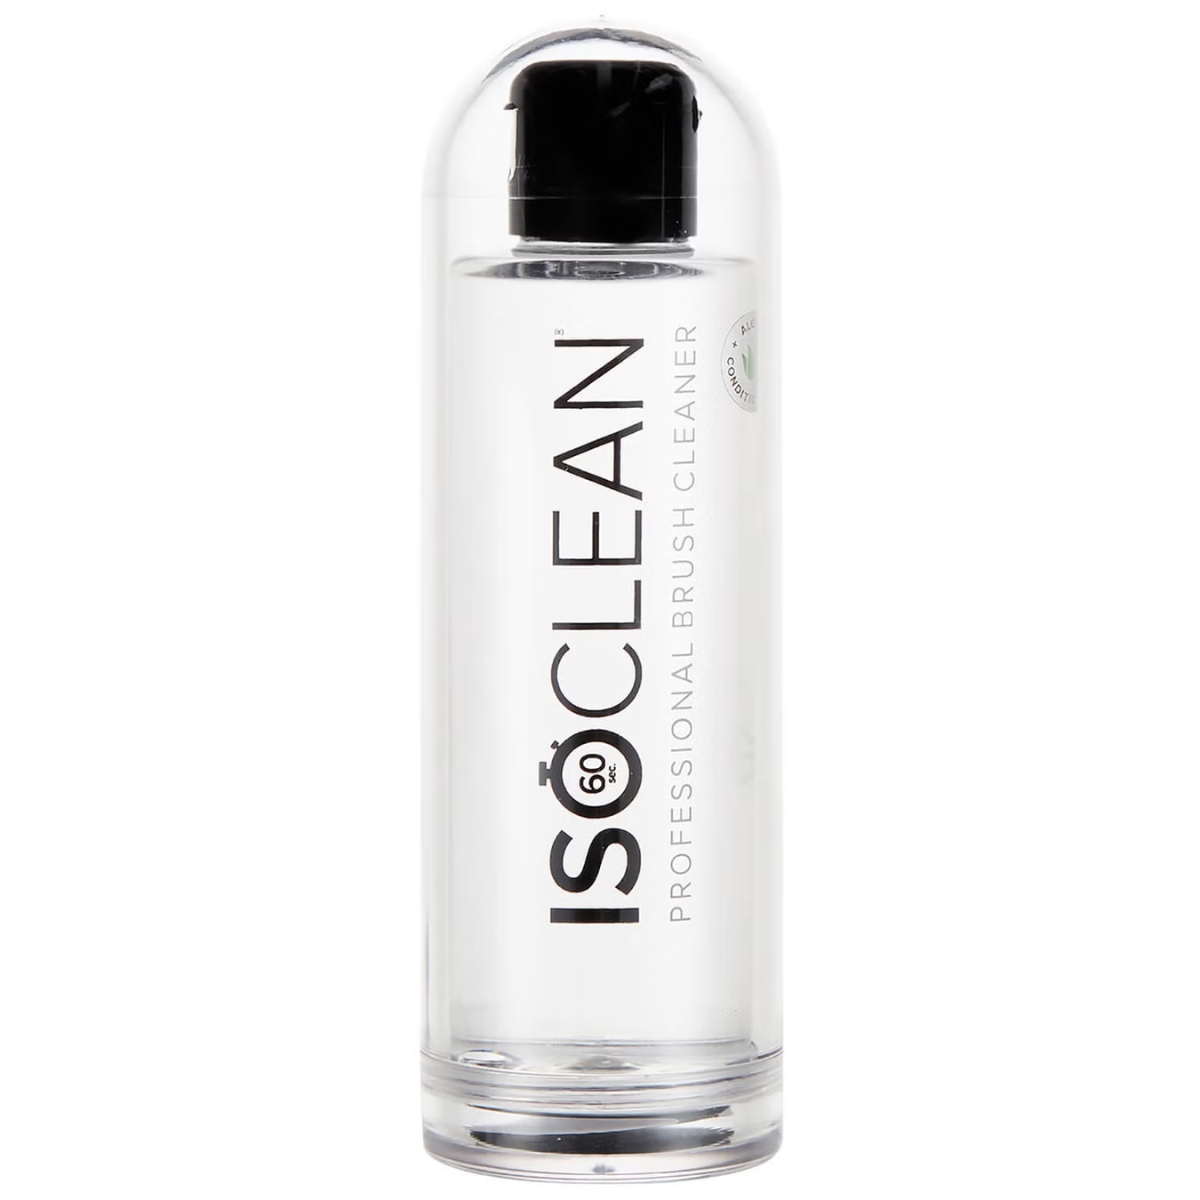
Now that you’re an expert on how to curl your lashes, it’s important to look after your eyelash curlers to ensure their longevity and prevent the spread of bacteria next time you use them. Brooke swears by Isoclean Makeup Brush Cleaner for making sure that her tools are completely clean and bacteria free. “At home, I’d suggest cleaning them with an antibacterial wash to keep them germ-free and wiping them with a micellar water between uses to remove any oil,” suggests Brooke.
Shop more eyelash curlers

Mica Ricketts is a freelance beauty editor and contributor to Marie Claire. She has written for titles including Refinery29 and Who What Wear UK, and also works with beauty brands on content messaging and marketing copy. She was previously Who What Wear UK's beauty editor. As someone that has tried basically every acne product on the market, she has a particular passion for debunking skincare myths and finding products that work. Plus, with two small children at home she is all about time-saving beauty routines that boost glow and disguise dark circles.
