Are we all using setting powder wrong? Hailey Bieber's make-up artist certainly thinks so
Less flatness, more dimension
Celebrity news, beauty, fashion advice, and fascinating features, delivered straight to your inbox!
You are now subscribed
Your newsletter sign-up was successful
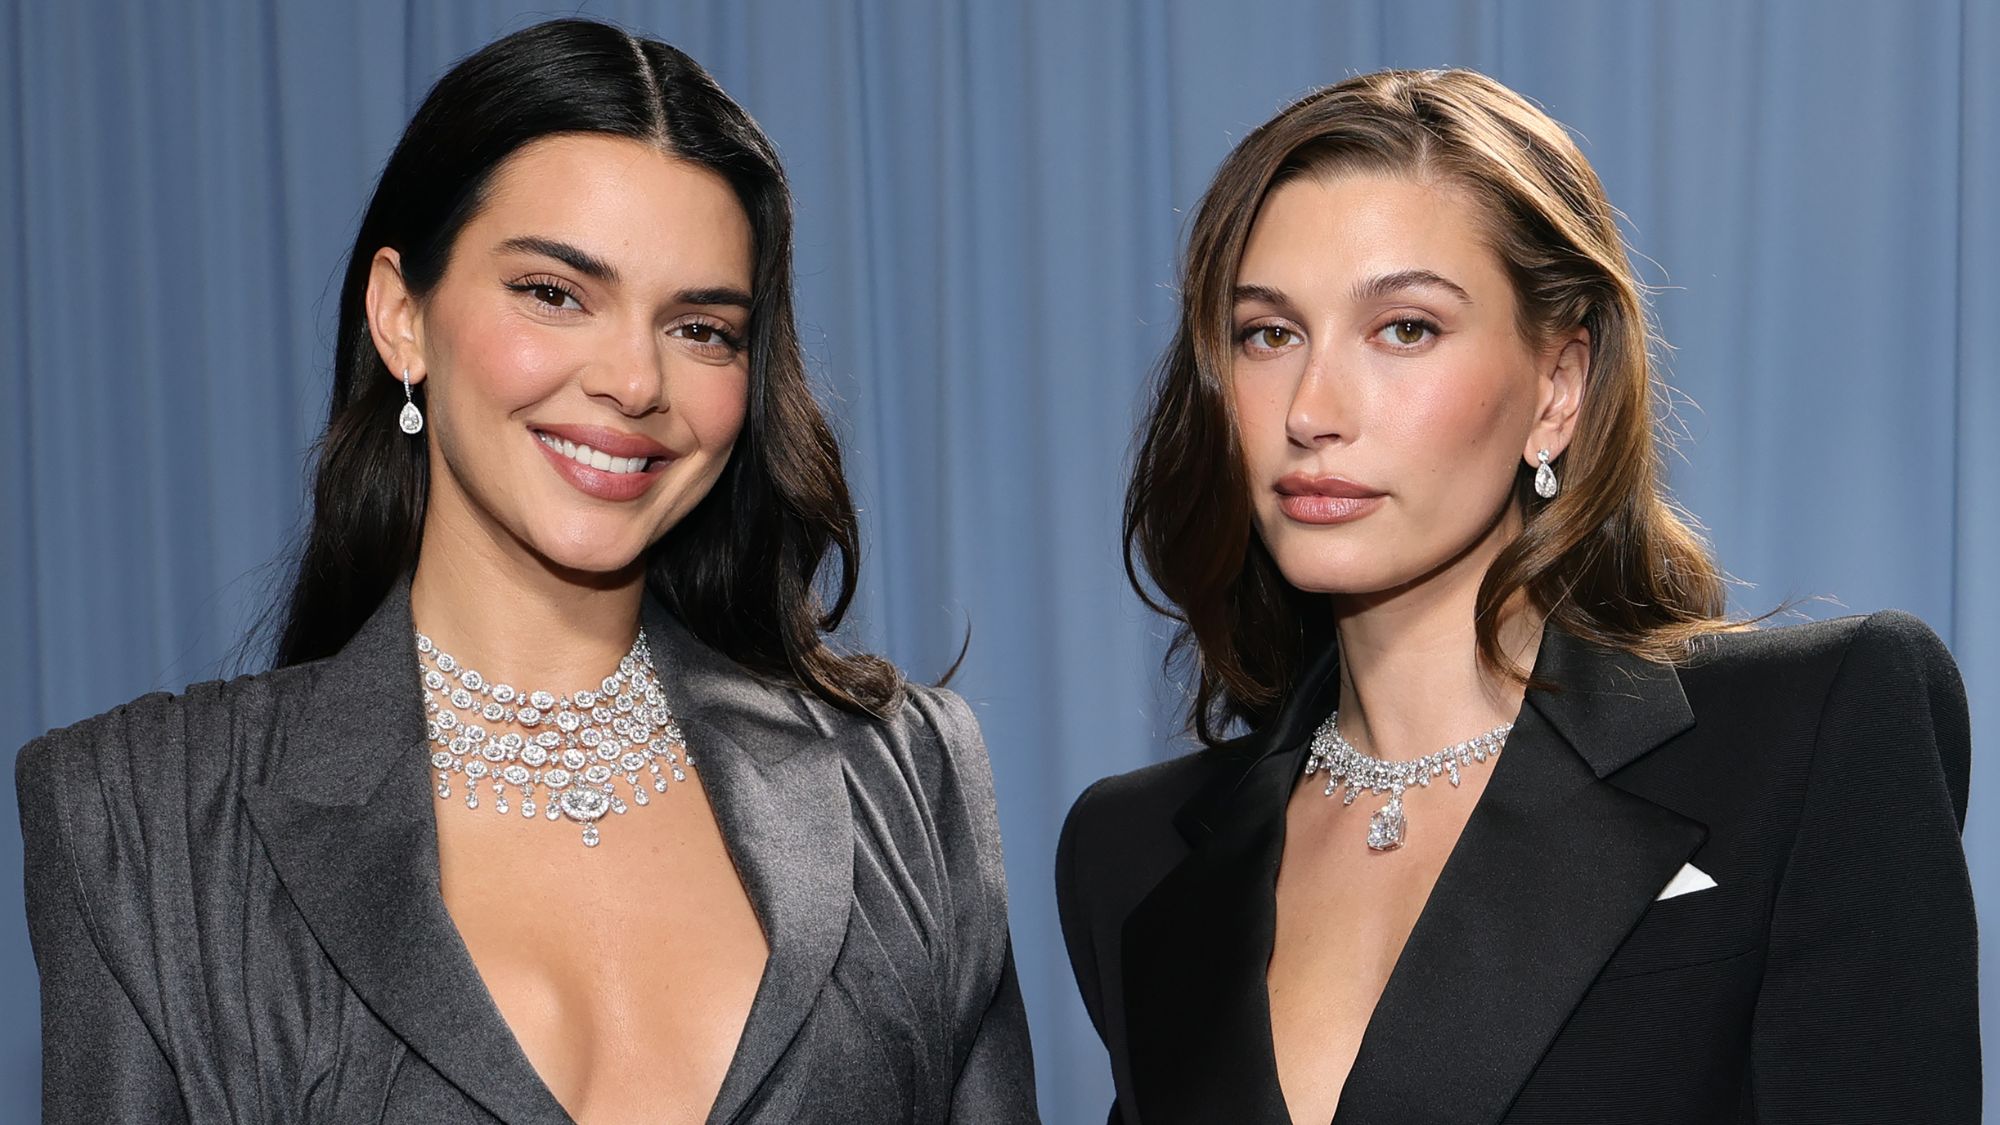
If there's one person I trust with a make-up hack, it's Mary Phillips. Chances are you've seen her work; the A-list make-up artist works behind the scenes on the faces of Hailey Bieber and Kylie Jenner (aka faces that need to look flawless in real life, on the red carpet, under paparazzi flash, and mid-Instagram shot). Her latest technique, powder mapping, is a game-changer.
When I think about it, setting powder might be the most crucial step in my make-up routine. It's the finishing touch that pulls everything together, blurring, smoothing, and cancelling unwanted shine. But I have also learnt the hard way that it is one of the easiest steps to get wrong. Incorrect placement or one swipe too many, and your base can veer into flat, chalky territory. And let's not talk about the ghostly flashbacks in photos.
That's where Phillips' powder mapping technique comes in. It's all about using different shade powders on different face areas. Think, invisible on the T-zone, brightening under the eyes, more radiant over the cheeks. It seems small, but the results are major.
A post shared by Mary Phillips (@maryphillips)
A photo posted by on
Different parts of your face have different needs, so why would one powder work for all of them? I love powder, but I often find that it leaves my face looking flat and cakey in certain areas. I need to rethink my technique.
Mary's powder mapping is all about using powders strategically, not universally. It uses different shade powders to put each area in its best light without compromising texture, tone, or glow. The result? That soft, sculpted glamour that Mary Phillips' clients are known (and loved) for.
Taking to Instagram to showcase the trend, Mary captions, ''I like to apply different colours to different areas of the face for dimension.'' The video has since been doing the rounds on socials, and for good reason.
A step-by-step of Mary Phillips' powder mapping tutorial
A post shared by Mary Phillips (@maryphillips)
A photo posted by on
Mary has shared her go-to A-list tip: “I don’t love a lot of powder,” she admits. And honestly, that’s reassuring because it’s all too easy to get carried away and end up flattening your face entirely.
Celebrity news, beauty, fashion advice, and fascinating features, delivered straight to your inbox!
Powder mapping is about doing the opposite. It’s about adding dimension while setting your base, using different powders to enhance and soften your features rather than mask them.
Here are three simple steps and the products to help you master the technique.
1. Brighten the Under-Eyes
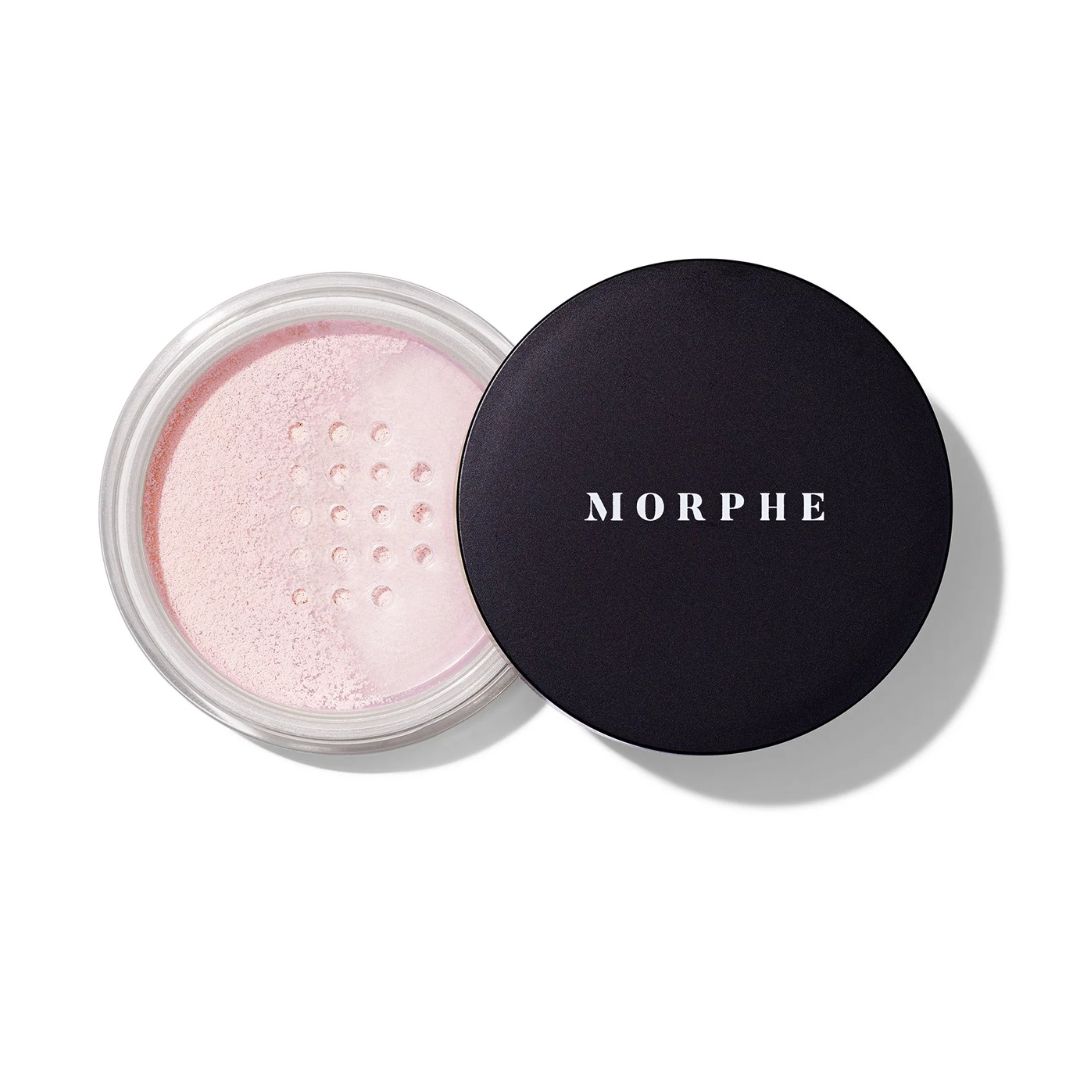
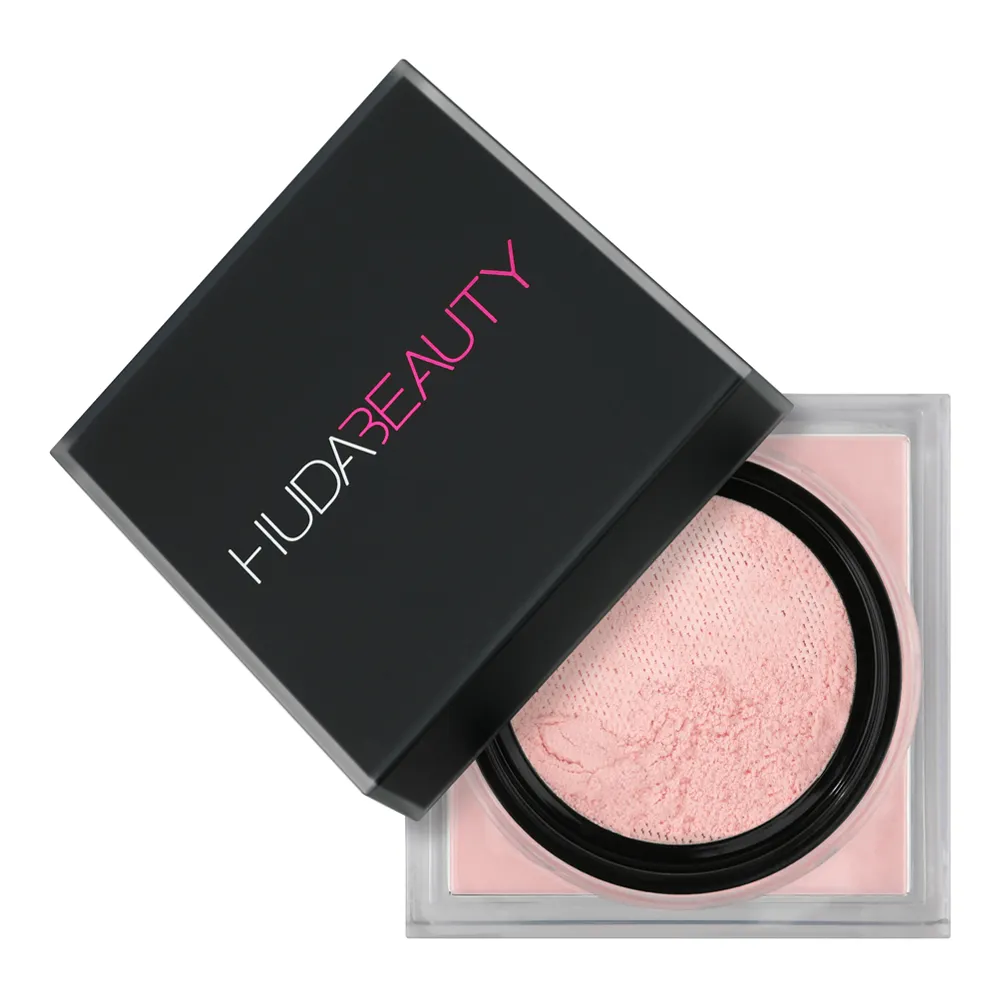
Mary starts by applying a loose, light pink powder under the eyes. The pale pink hue helps to counteract dark circles and add brightness, acting almost like a soft-focus filter for tired eyes. A loose formula is key here, it’s finely milled enough to set without settling into creases, and light enough to maintain that lifted, luminous effect. Rather than baking or overloading the area, the goal is a subtle lift that blends seamlessly with your base, leaving the under-eyes smooth, fresh, and awake.
2. Mattify the Centre of the Face
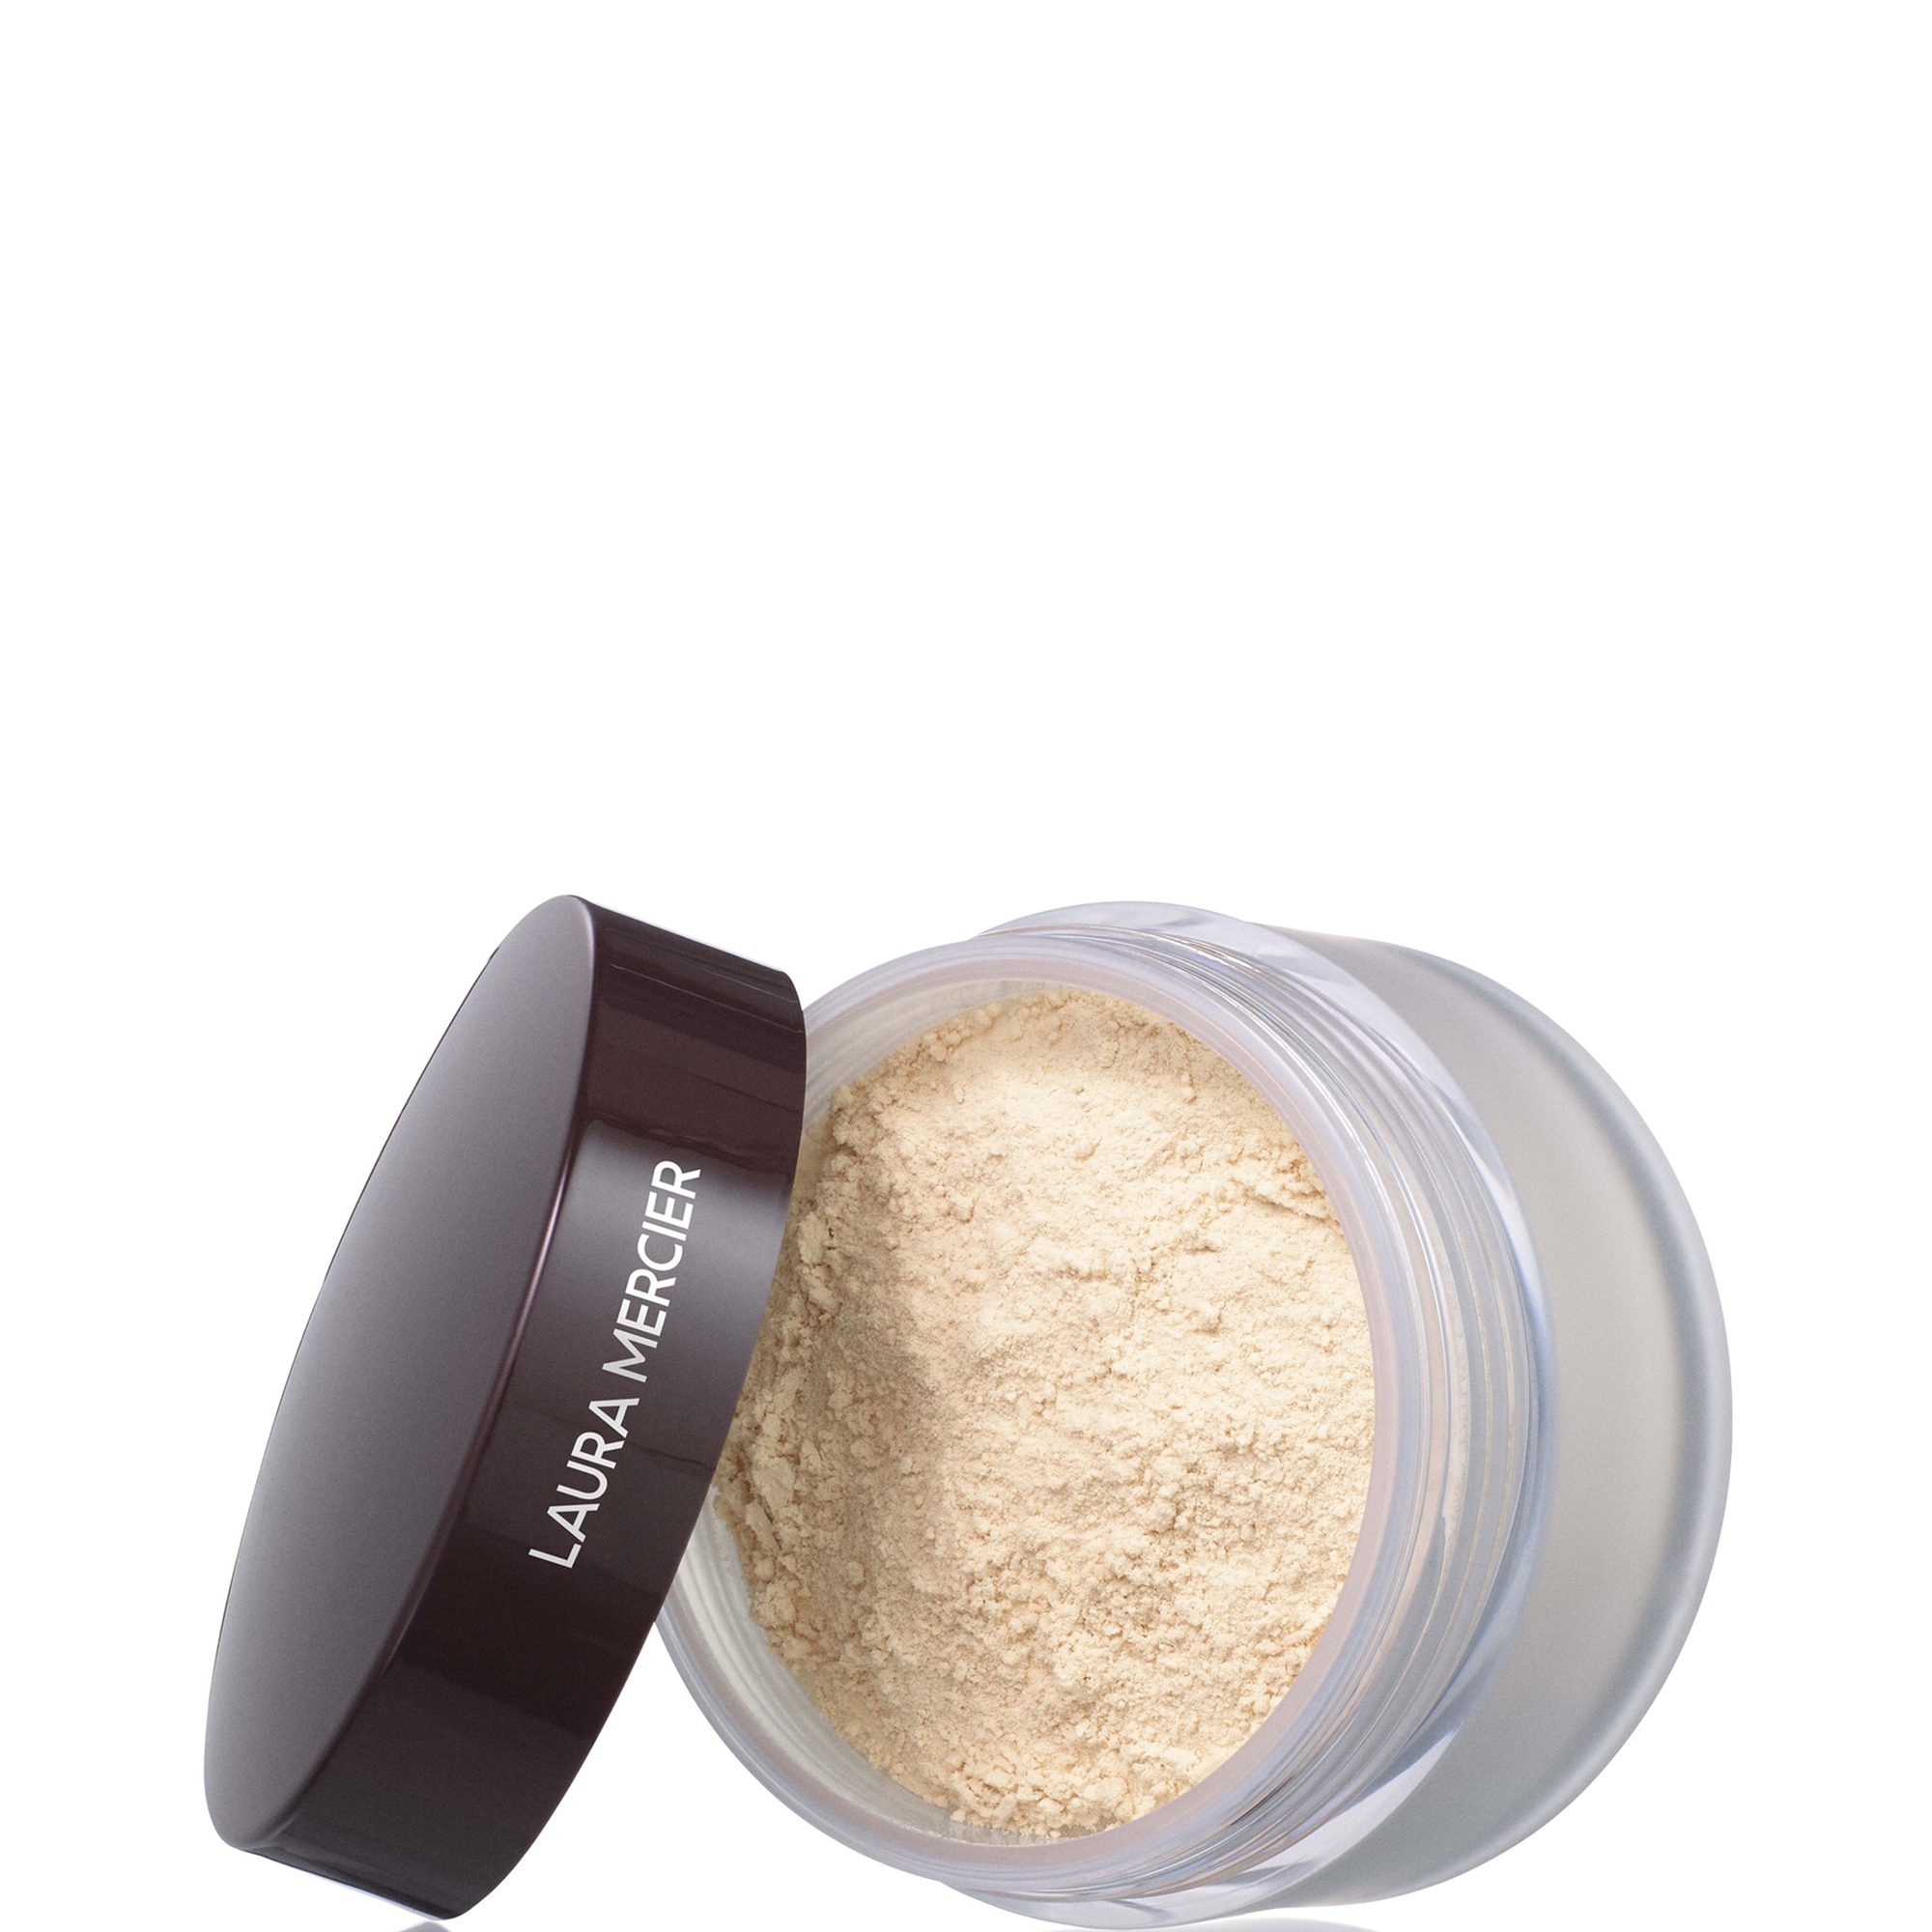
Next, Mary dusts a loose translucent powder through the T-zone, focusing on the centre of the forehead, around the nose, and the mouth. This central area is where shine tends to build up most, so a lightweight translucent formula helps control oil without adding weight or texture. A fluffy brush ensures the finish stays soft and diffused, never chalky or obvious. This step subtly mattifies the skin while maintaining dimension.
3. Add warmth and definition
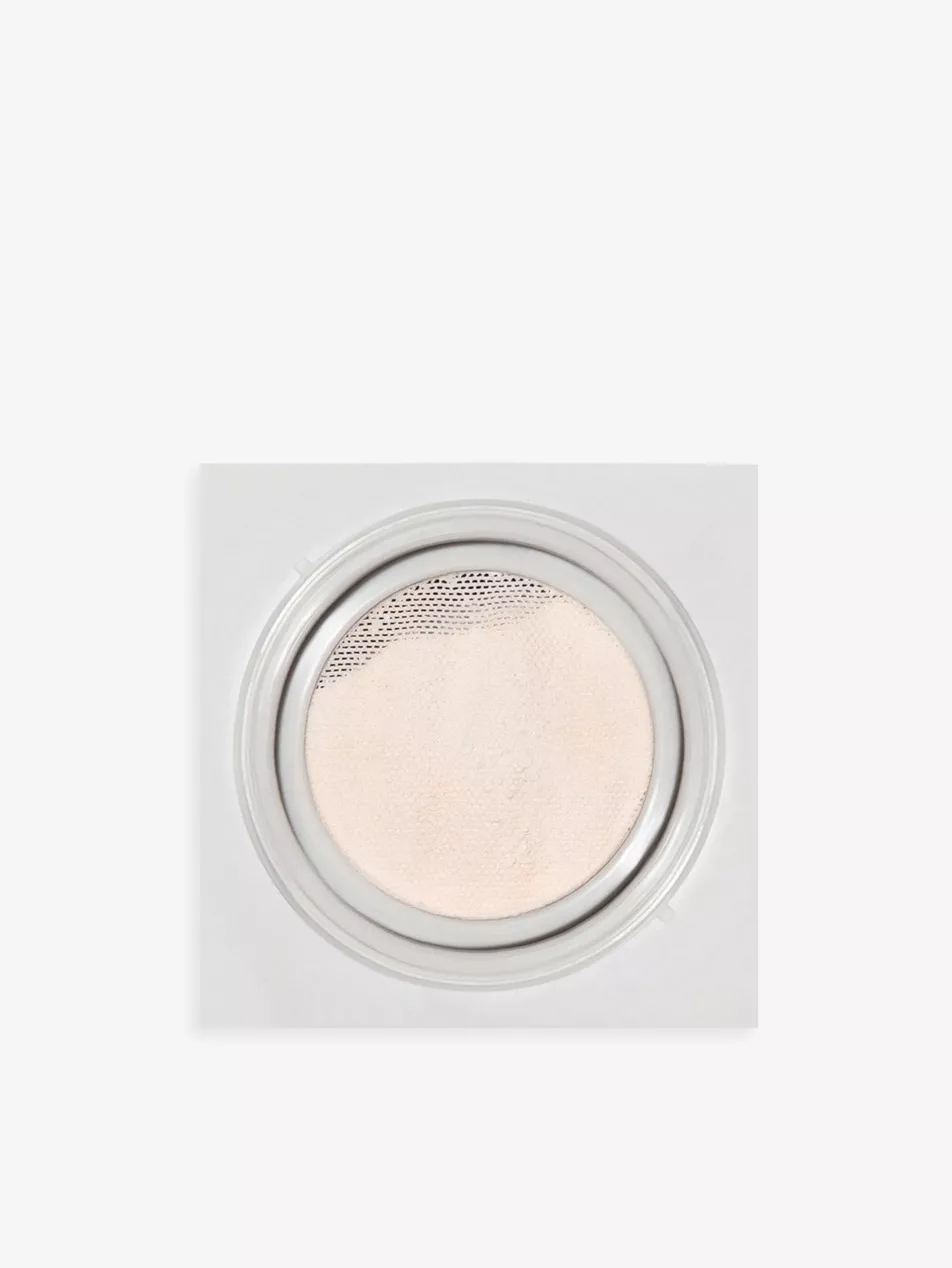
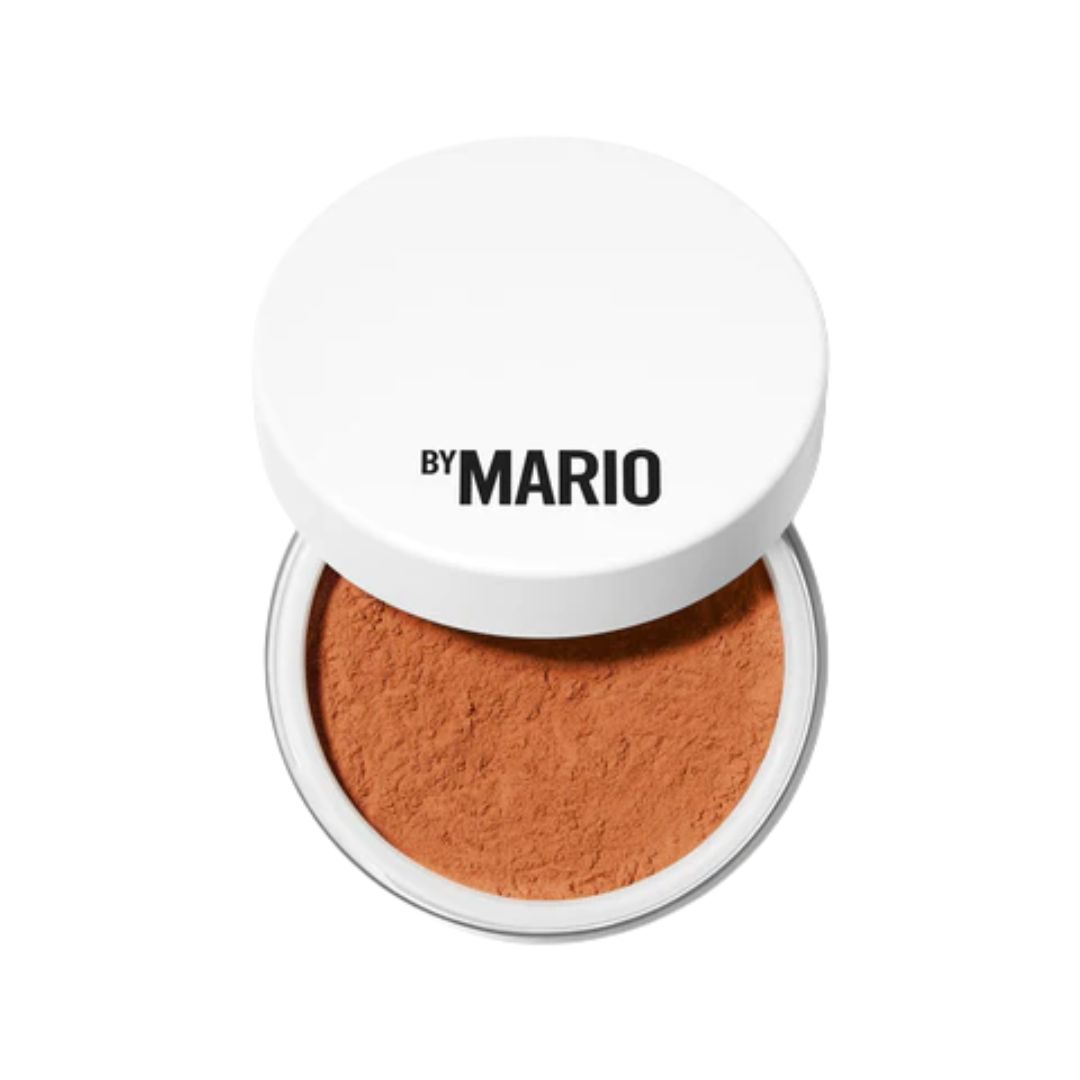
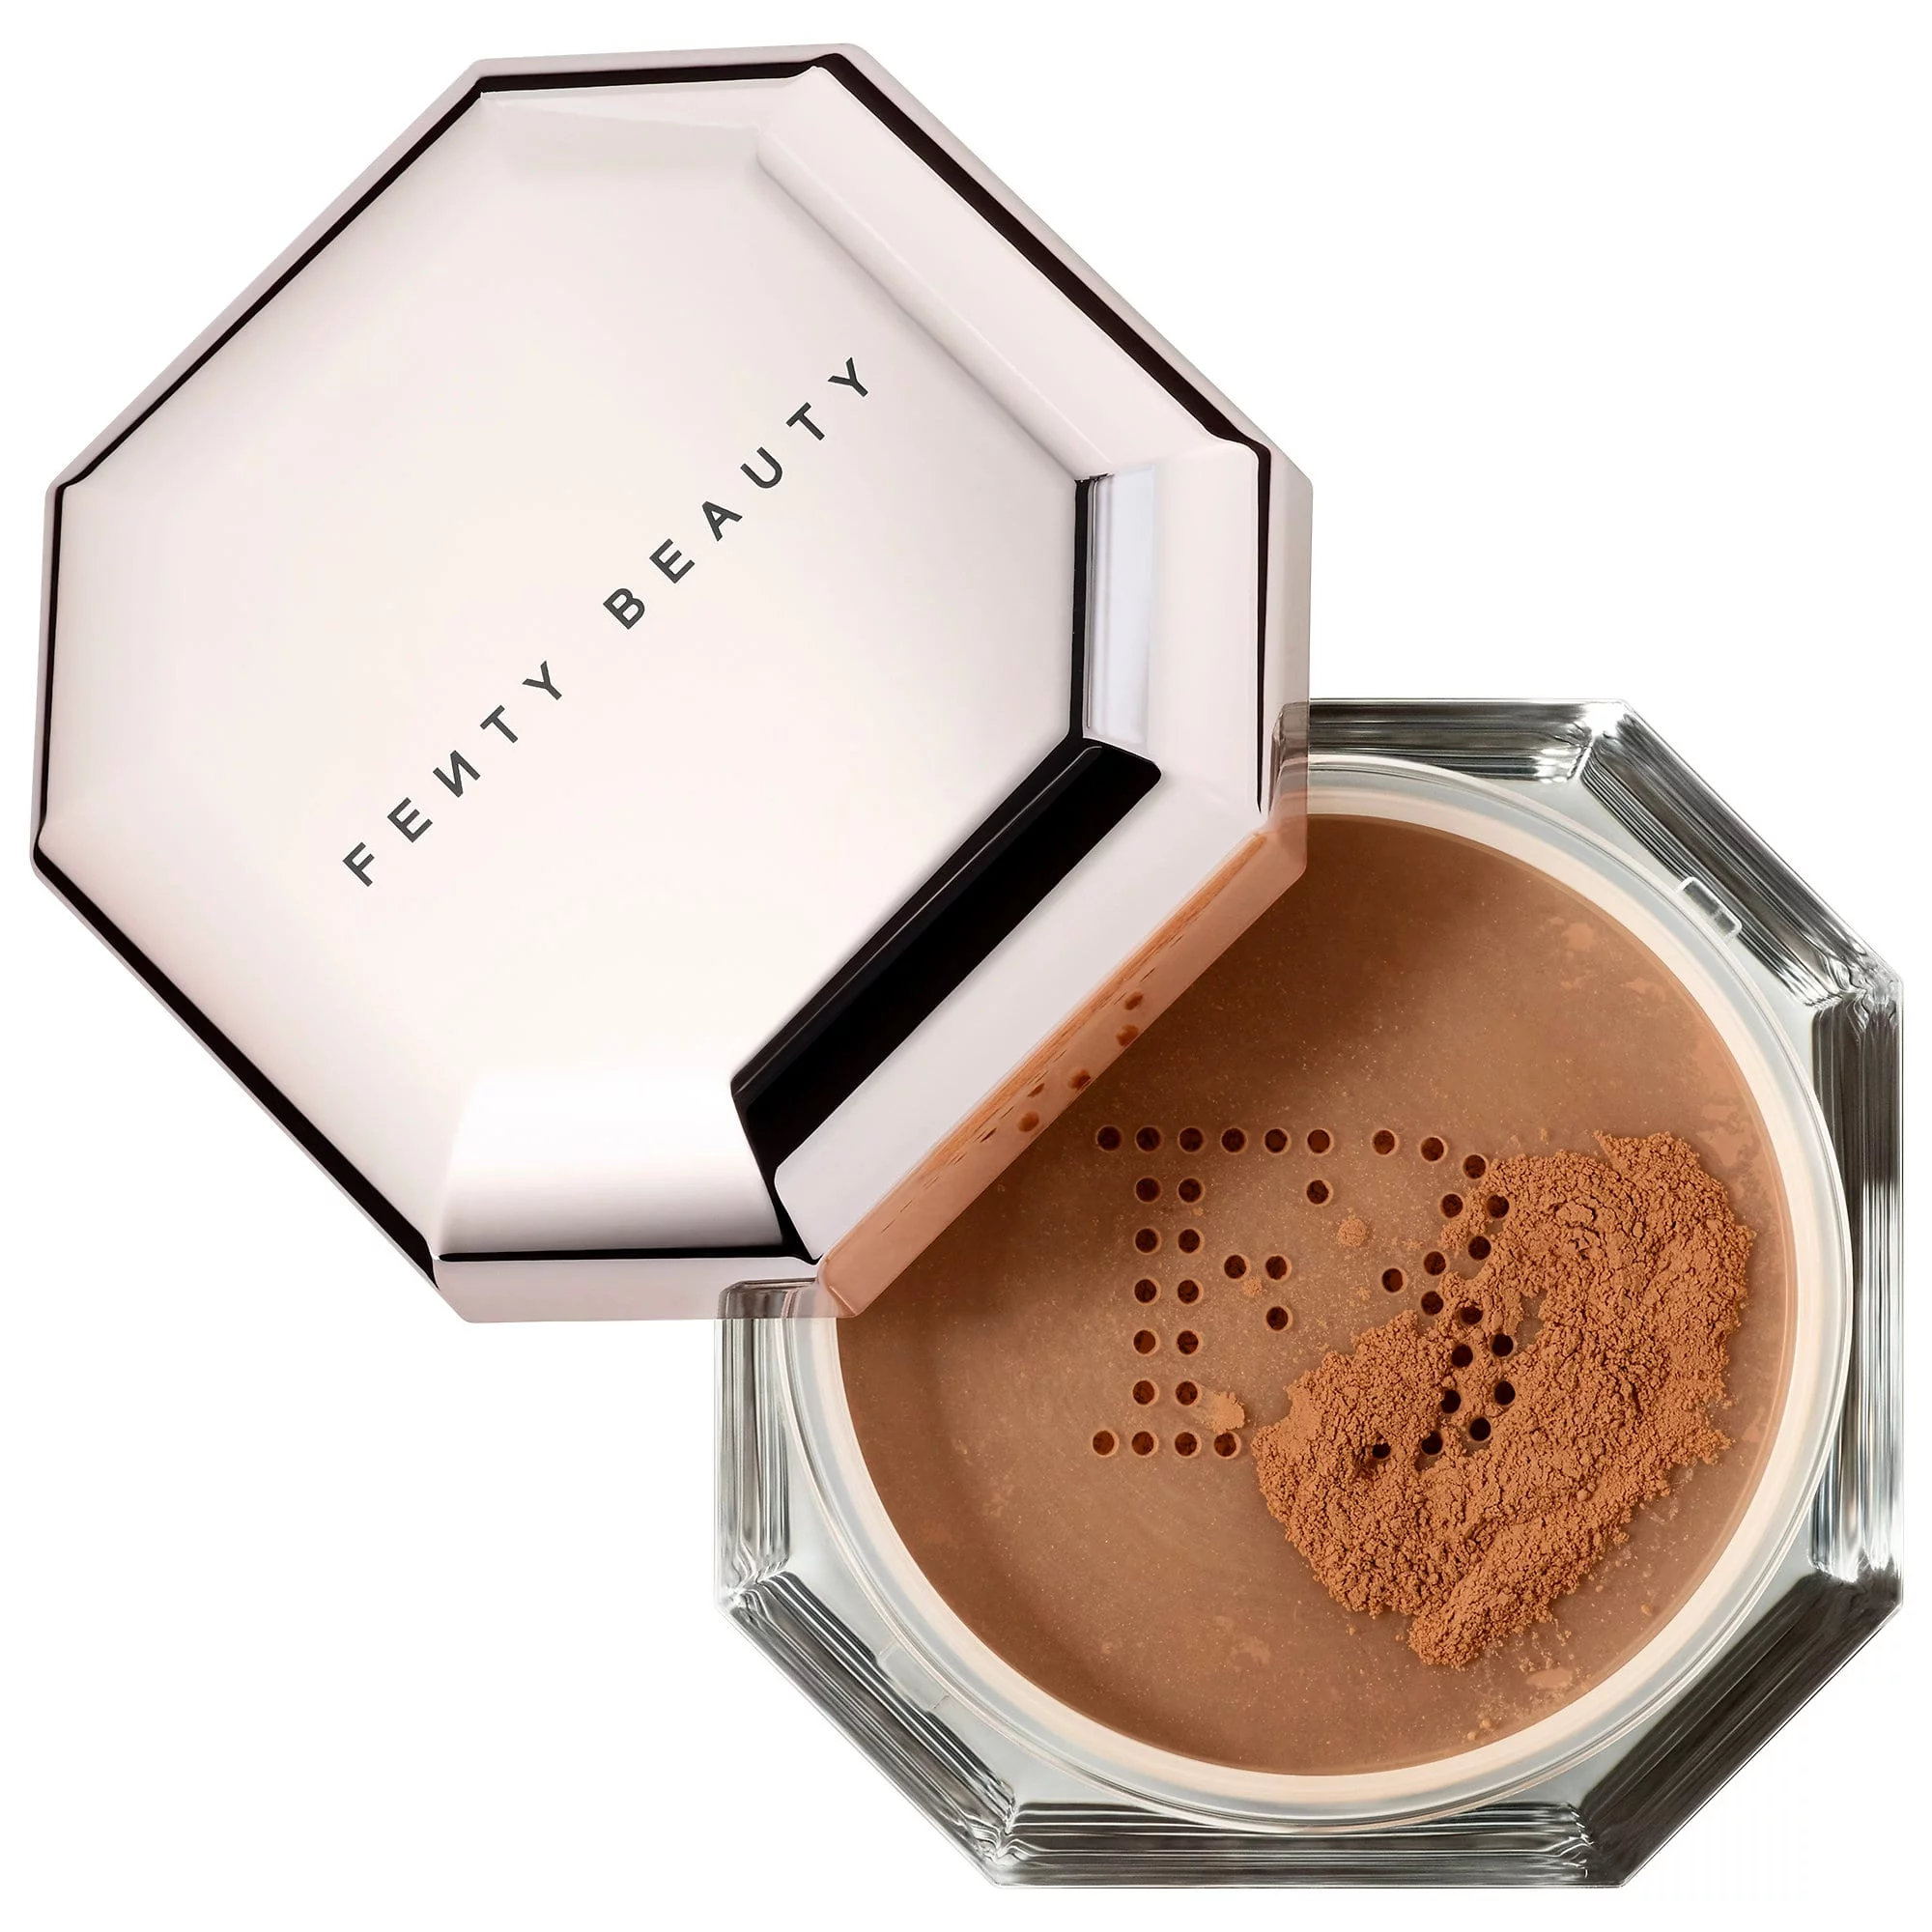
To finish, Mary uses a powder that matches the skin tone to softly set the rest of the face, particularly over the contours and outer edges. This final layer adds warmth, seamlessly sculpts areas, and prevents harsh lines from standing out. Unlike the brightening or mattifying powders, this one injects warmth and adds shape to the skin without dulling its natural glow.
My verdict
When I first came across this technique, I'll admit I was hesitant. The idea of using different-coloured powders on different parts of my face felt somewhat unnecessary, especially since I've been loyal to the same translucent formula for years.
And while I've never skipped powder, I now realise I wasn't using it in the best way. I often ended up with ghostly flashbacks in photos or dry, cakey under-eye areas. I put it down to my skin type rather than taking a look at my technique.
It seemed retrospectively obvious, but my common powder woes were mainly due to using the same powder all over the face, expecting it to oil-control some areas and brighten others. And really, the more delicate areas like my under-eyes didn't need it.
Switching to targeted powder placement has honestly changed everything. My make-up wore better throughout the day, looked more dimensional, and felt more like my skin. For the final step, getting an exact skin tone match is key. It's not about bronzing or contouring, but enhancing your natural tone and softly setting the base so everything blends seamlessly.
Try it yourself, and thank me (and Mary Phillips) later.
Darcy is a freelance beauty and lifestyle writer and a contributor to Marie Claire. She’s written for titles across London and Sydney, including Stylist Magazine, Refinery29, Woman&Home, Fabulous Magazine, and Australia’s leading beauty retailer, MECCA. She’s obsessed with all things skincare, believes blush is the ultimate beauty essential, and has an extensive blush wardrobe to prove it. Outside of writing, you’ll find her at Pilates with matcha in hand, romanticising her morning and planning her next travel adventure.
