How to get a flawless mineral makeup look in less than 2 minutes
Ever wondered how to use mineral make-up? Watch our tutorial for some quick tricks - then prepare to be converted

Celebrity news, beauty, fashion advice, and fascinating features, delivered straight to your inbox!
You are now subscribed
Your newsletter sign-up was successful
Ever wondered how to use mineral make-up? Watch our tutorial for some quick tricks - then prepare to be converted
Mineral makeup is made from minerals such as iron oxides, mica, and titanium dioxides, that are ground into powders and liquids – and leaves out parabens, talc and other harsh chemicals. In other words, some of the most natural formulas on the market today.
Originally a favourite with those recovering from dermatological treatments and plastic surgery, mineral make-up has now gone mainstream. In fact a trip to the beauty hall today reveals products that are so flattering and finely milled the finish looks like your bare skin – just better. Its benefits don’t stop there. It's kind to sensitive skin. It's non-comedogenic, meaning it won't settle and clog pores. It even contains zinc oxide, an ingredient commonly found in spot creams, making it ideal for acne-prone skin. But most importantly it imparts the healthiest glow to even the most sallow, tired complexion. Fancy giving mineral make-up a whirl? We’ve listed all the products used in our tutorial below, along with application tips so you know how to match your mineral foundation to your skin tone, where to place your highlighter and just how much mineral foundation you really need to use…
Step 1: Primer
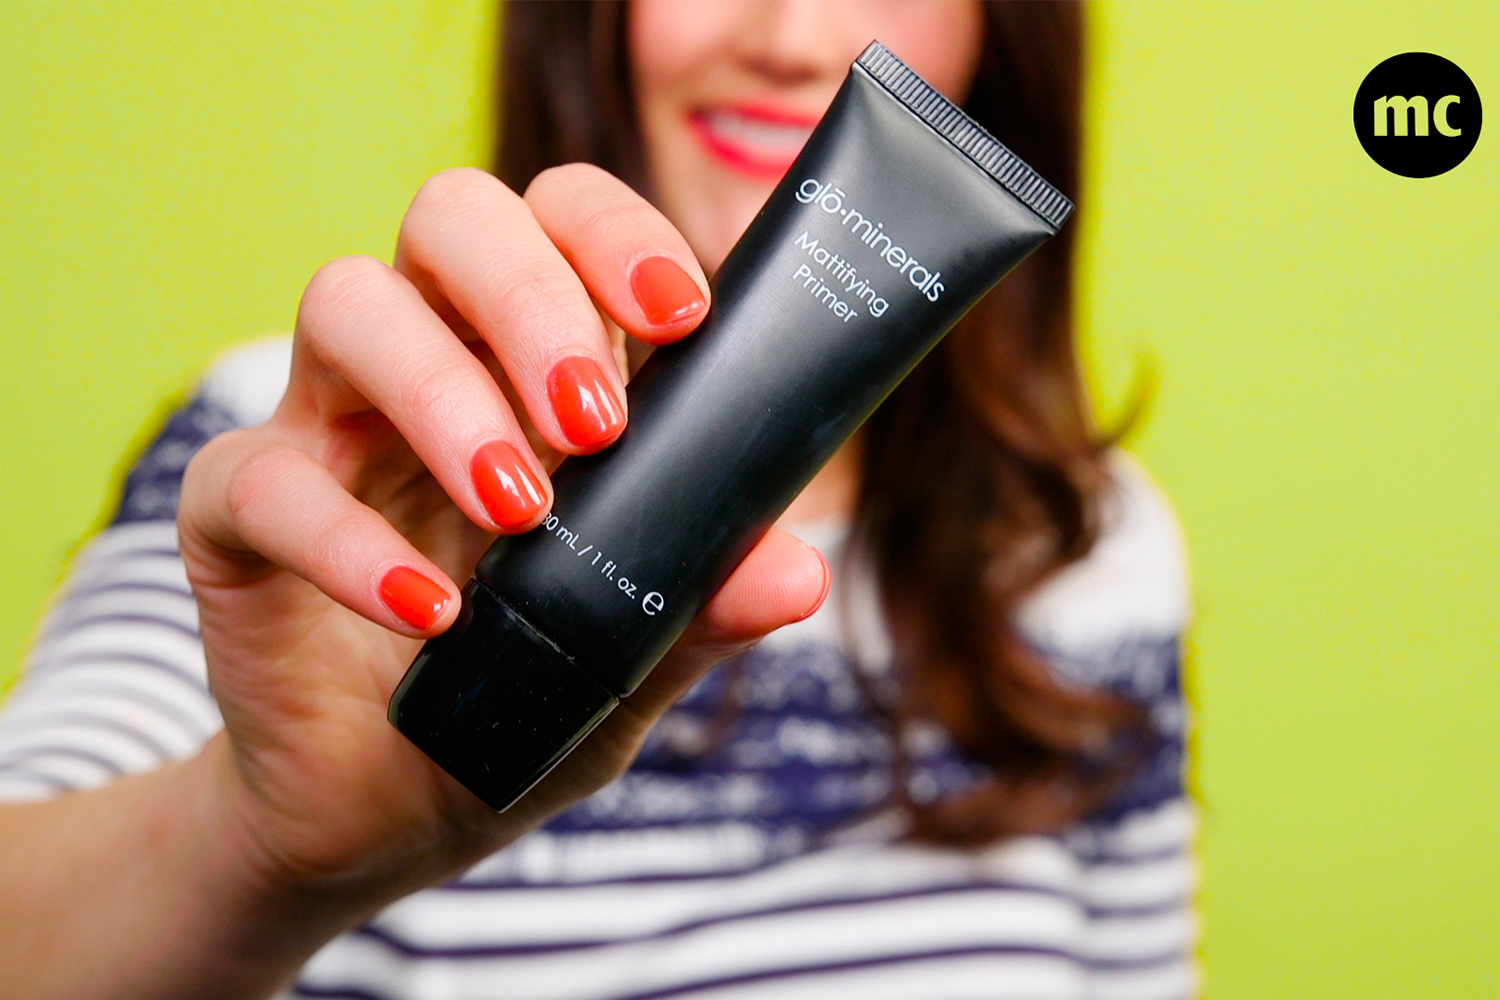
Primer is an essential first step for flawless make-up. It preps skin by creating a smooth, even base and helps the make-up you apply on top last longer. There’s no one-size-fits-all primer – choose one that matches your skin concern. If you’re worried about breakouts, pick a primer containing blurring ingredients; if you have oily skin look for one with the word ‘mattifying' on the label and if you suffer from redness opt for a colour-correcting version. In the tutorial I used Glo Minerals Mattifying Primer, £28.50, which is packed with antioxidants and bounces light away from blemishes.
Step 2: Match your foundation colour
Pick three shades that are closest to your natural skin tone. Test them by working a small amount into your jawline or neck using a brush or your ring finger. Note: avoid testing foundation on the back of your hand or wrist as the skin here is often a completely different tone to the skin on your face. Of your three options, the one that disappears into your skin is the perfect shade for you.
Video you may like:
Step 3: Mineral foundation
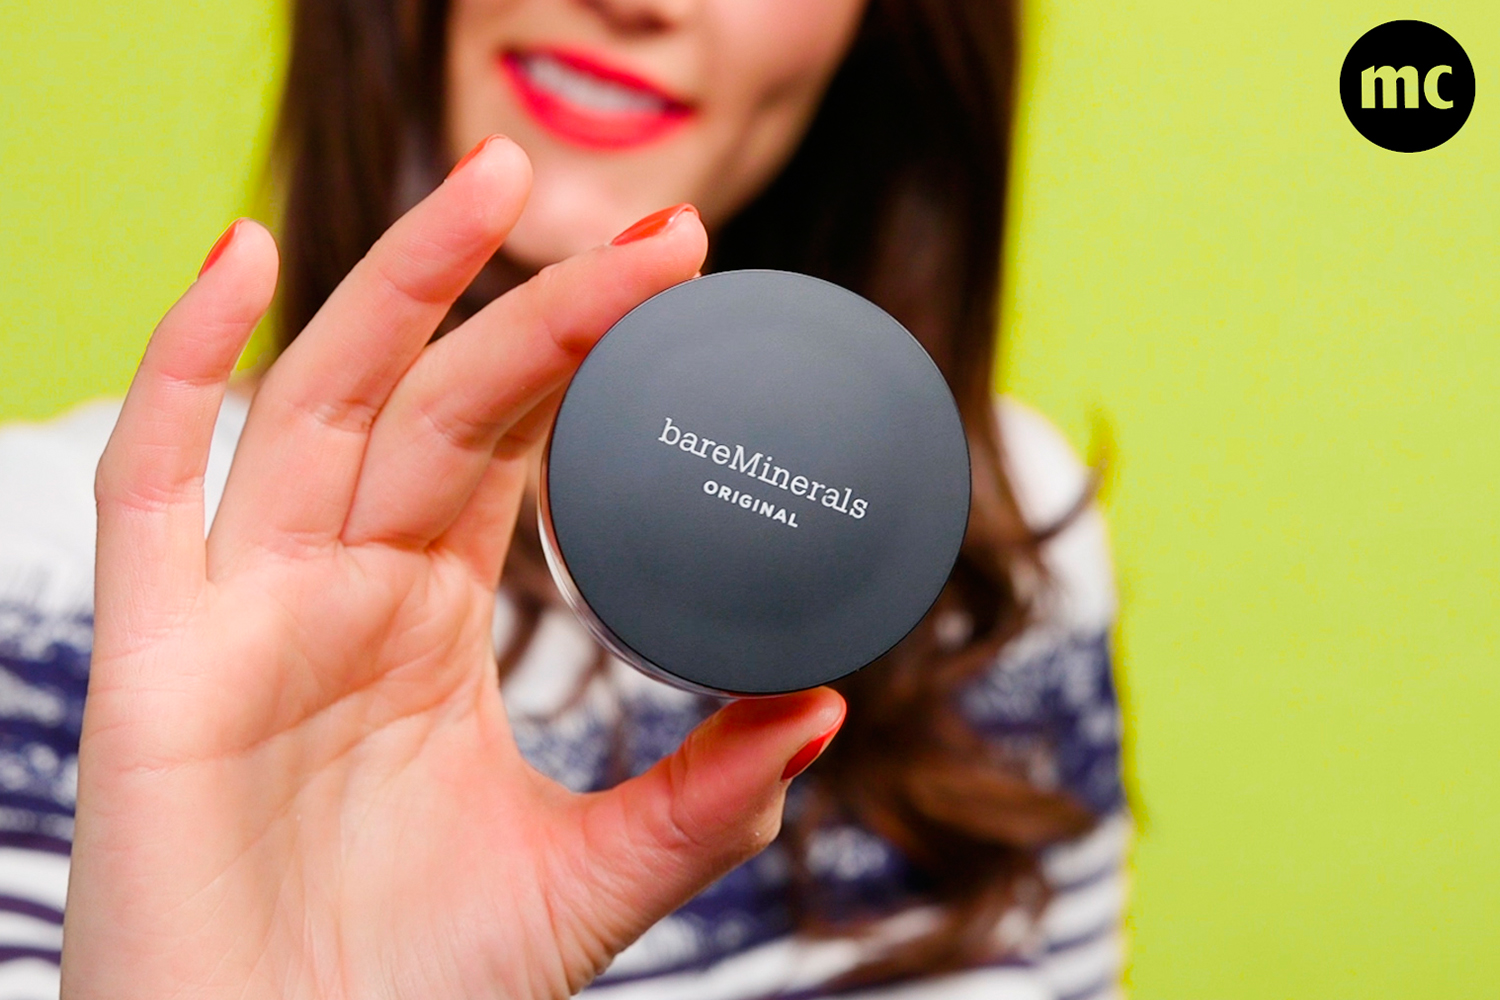
In this video I used BareMinerals Original SPF 15 foundation, £26.50, a lightweight, mineral powder foundation that doesn’t feel cakey on the skin. To apply, pop a small amount of foundation into the lid of your product. Dip in a make-up brush such as the BareMinerals Beautiful Finish Brush, £26, which I used here, tap it against the rim of the lid to lose any excess product and buff over your face in a circular motion to create an even finish. Start with a light layer and then build it up on areas where you need a little more coverage.
Step 4: Mineral bronzer
For a bona fide sun-kissed look, dust mineral bronzer over areas where the sun would naturally hit your face: cheekbones, temples, chin and the bridge of your nose. In this tutorial I used Clarins Mineral Powder Bronzing Duo, £30.
Celebrity news, beauty, fashion advice, and fascinating features, delivered straight to your inbox!

Step 5: Mineral blusher
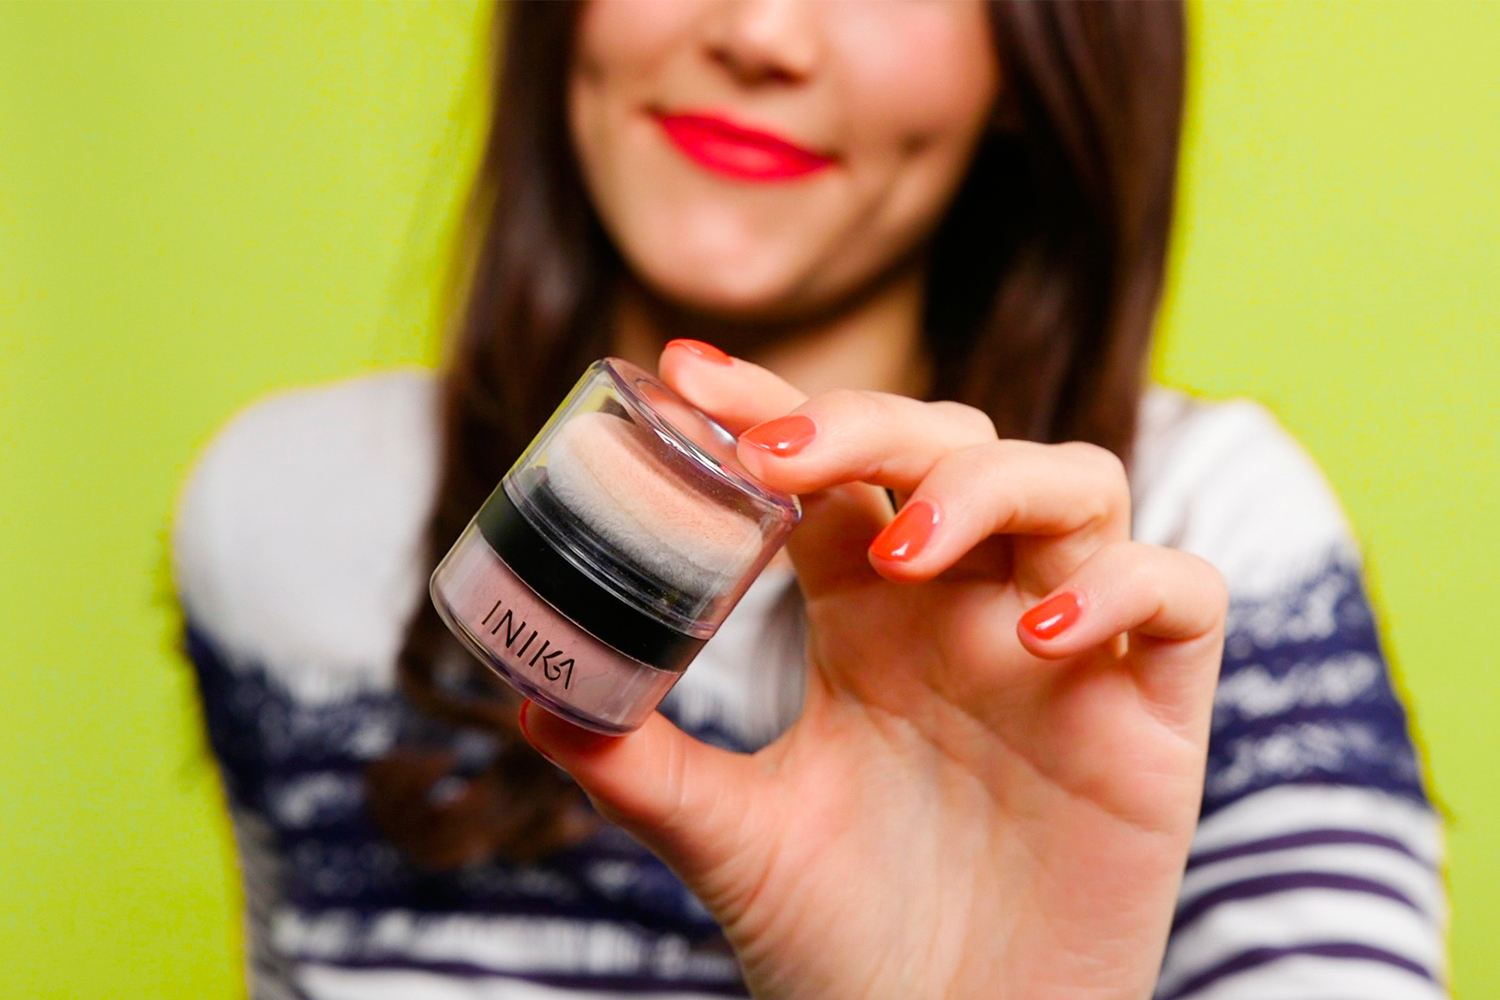
Not sure where to apply blusher? Simply smile then sweep it onto the plumpest part of your cheeks (also known as the ‘apples’) and wing it up over your cheekbones. In this tutorial I used Inika Blush Puff Pot, £21 in shade Pink Petal.
Step 6: Mineral highlighter
If you’re using a powder highlighter, pop a small amount into the lid so you can easily control how much product you pick up. Or squeeze a liquid highlighter onto the back of your hand. In this tutorial I used my finger to apply Laura Mercier’s Mineral Illuminating Powder, £27, along the bridge of my nose, over my cupid’s bow (the arch above your lips) and in a crescent-moon shape from my temples down to the tops of my cheekbones.
Step 7: Finishing touches
To finish off my everyday mineral make-up look I kept it simple: just a ring of eyeliner around the eyes, a sweep of mascara and slick of lipstick. In the video I used Dolce & Gabbana PassionEyes Mascara in Nero, £28, Chanel’s Stylo Yeux Waterproof in Noir Intense, £21, and Bobbi Brown’s Art Stick Liquid Lip, £21.50 in Hot Tangerine.

See? Mineral makeup is a perfect foundation option for both buildable coverage and ease of application.
Oh, and it really does last, without clogging your pores. It's a win win!
