The new metallic nail trend from NYFW you have to try
It's time to get creative with your mani with this new 3D metallic nail hot off the runway

It's time to get creative with your mani with this new 3D metallic nail hot off the runway
This season at New York fashion week we’ve spotted some killer nail looks backstage but it was a metallic 3D mani from the Phillip Lim SS17 show that really caught our eye.
Metallic polish was layered over a light base colour using randomly placed but deliberate swipes of metallic varnish. The look was ceated by Sally Hansen Global Colour Ambassador Madeline Poole (Instagram: @mpnails) who was ‘inspired by the studs, zippers and textures from the Phillip Lim SS17 collection.’
The textured nail look is perfect for a night out on the town or to add some major glam points to your everyday style. Our favourite thing about the nail look? It’s really easy to re-create at home.
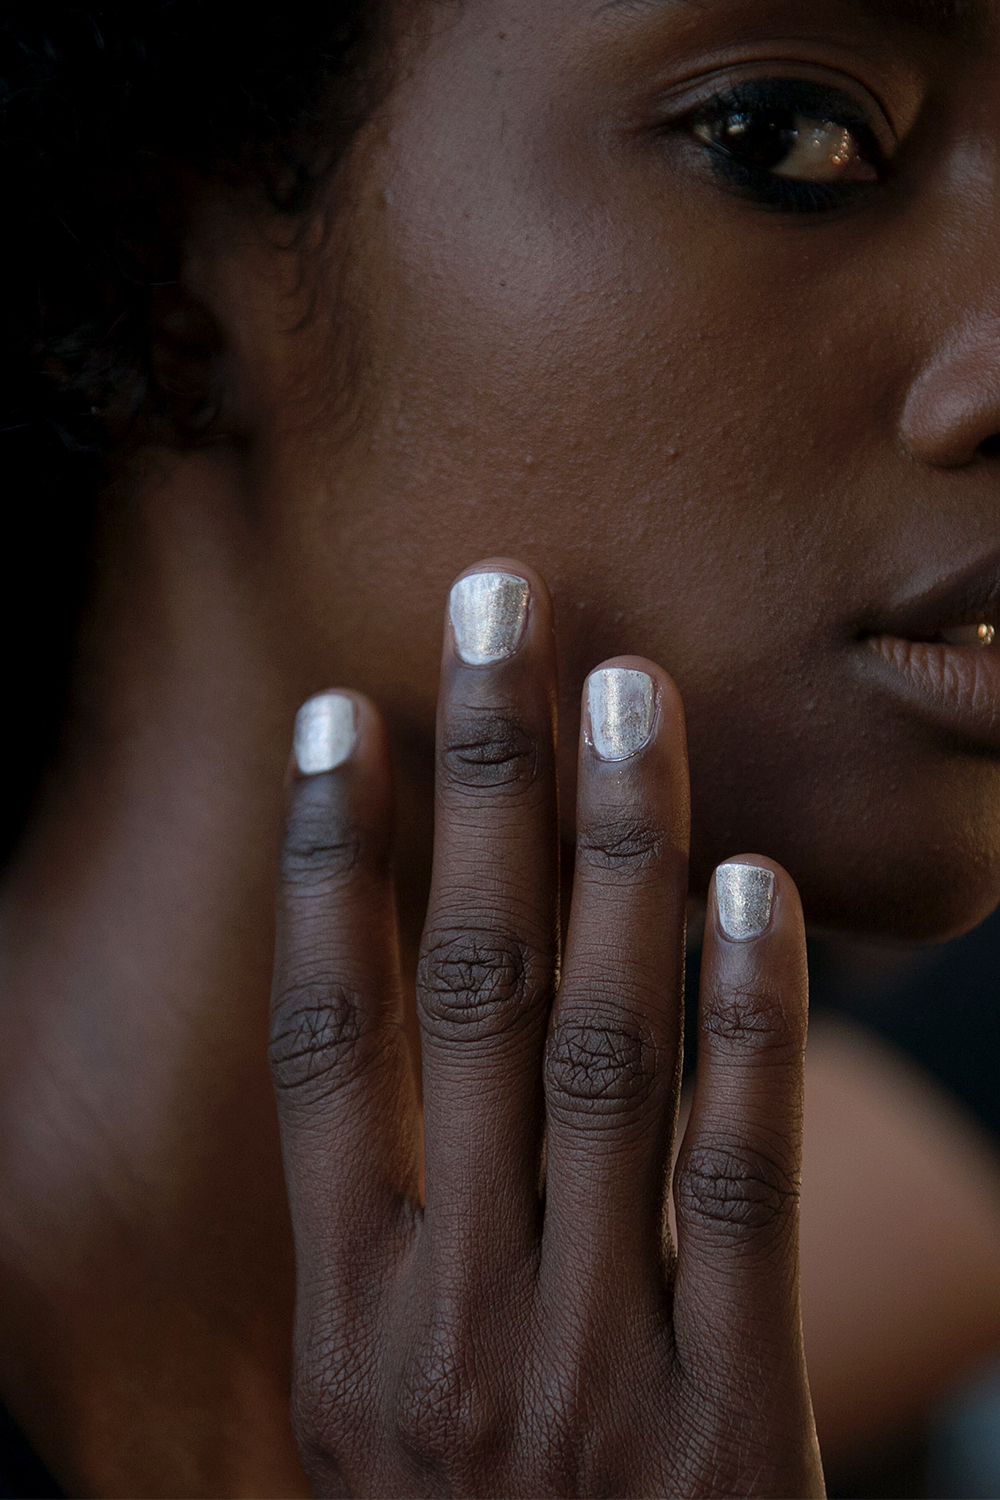
Follow our simple step-by-step guide to create your own textured metallic mani for catwalk-worthy nails in no time.
Step 1: The Prep
This nail look can work on any nail style or length. Whether you love a long and pointed tip a la Kylie Jenner or a short and square nail make sure you start with a strong base by filing the free edge and buffing nail beds.
Step 2: The Base
Base coats offer more than just protection from stains these days so pick one that matches your needs whether you suffer from discolouration, white spots or weak nails and layer it up. We love Sally Hansen’s Double Duty Strengthening Base and Top Coat, £5.25.
Celebrity news, beauty, fashion advice, and fascinating features, delivered straight to your inbox!
Step 3: The Foundation
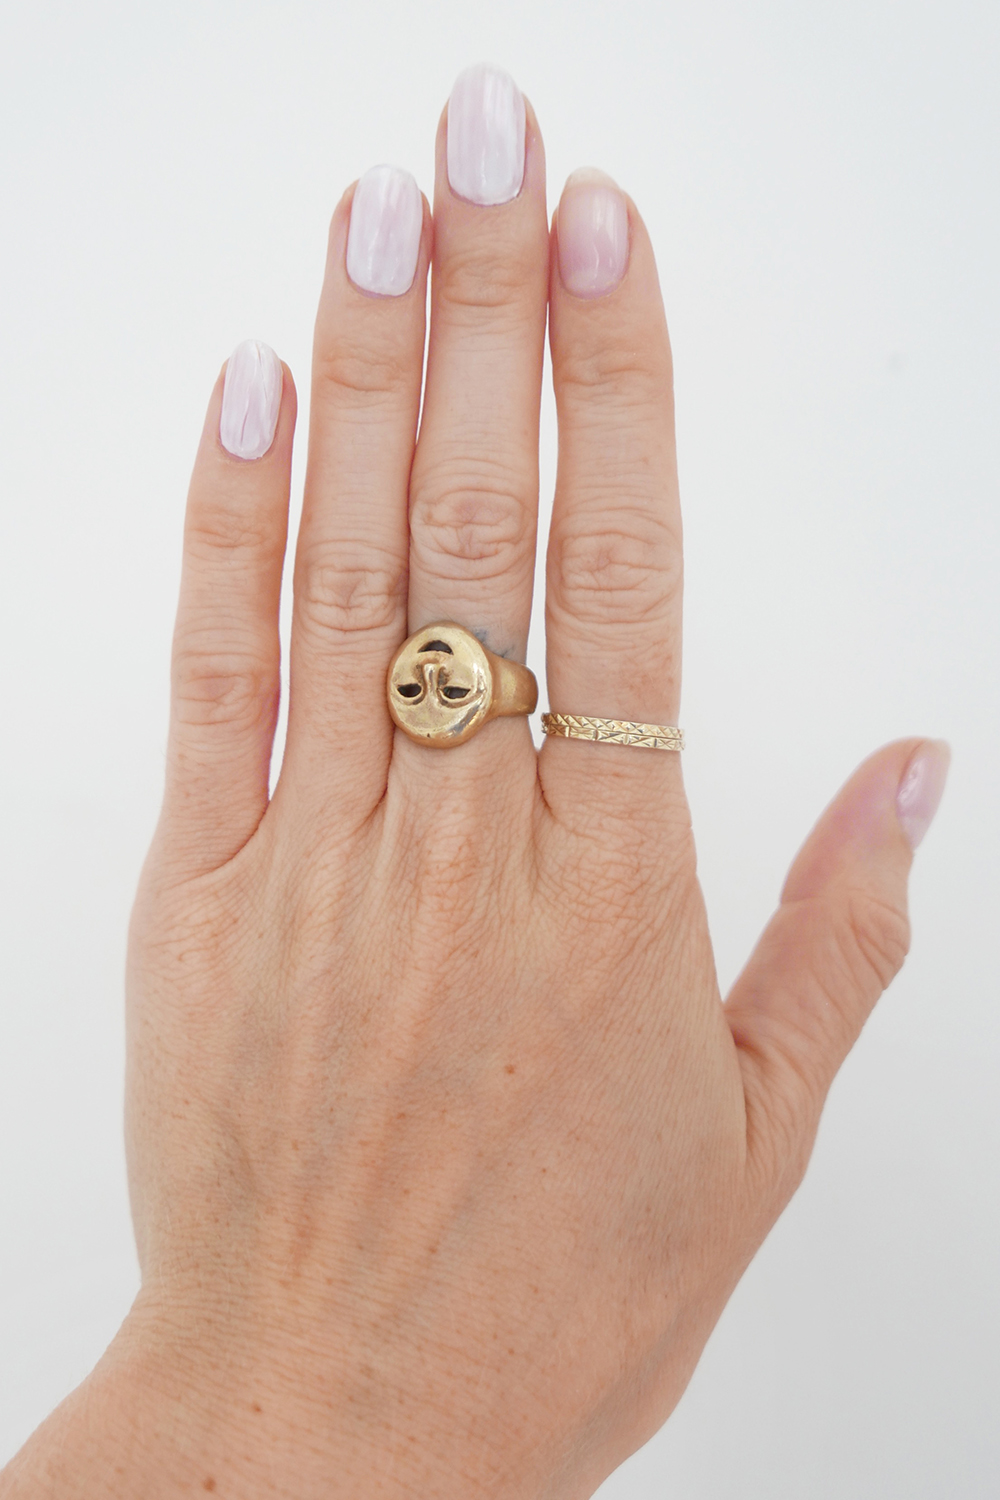
Apply two coats of a neutral colour in a soft nude or white tone. Make sure you pick an opaque shade to ensure there is a strong enough backdrop to create contrast with the metallic polish. We love Sally Hansen’s Miracle Gel polish in Birthday Suit, £9.99.

Step 4: Customisation
Now's the time to pick your metallic nail shade. We’re using Sally Hansen Miracle Gel in Buffalo Nickel, £9.99 a silver metallic colour similar to the one used backstage at Phillip Lim’s SS17 show, but this nail look could work with nearly any shade. Go for a purple or turquoise shade for a quirky, mermaid style look or a metallic gold shade for Christmas.
Now you’ve chosen your colour wipe off the excess polish from the brush so that it is only lightly covered and won't drip, this step is really important to prevent the metallic polish seeping over the whole nail.
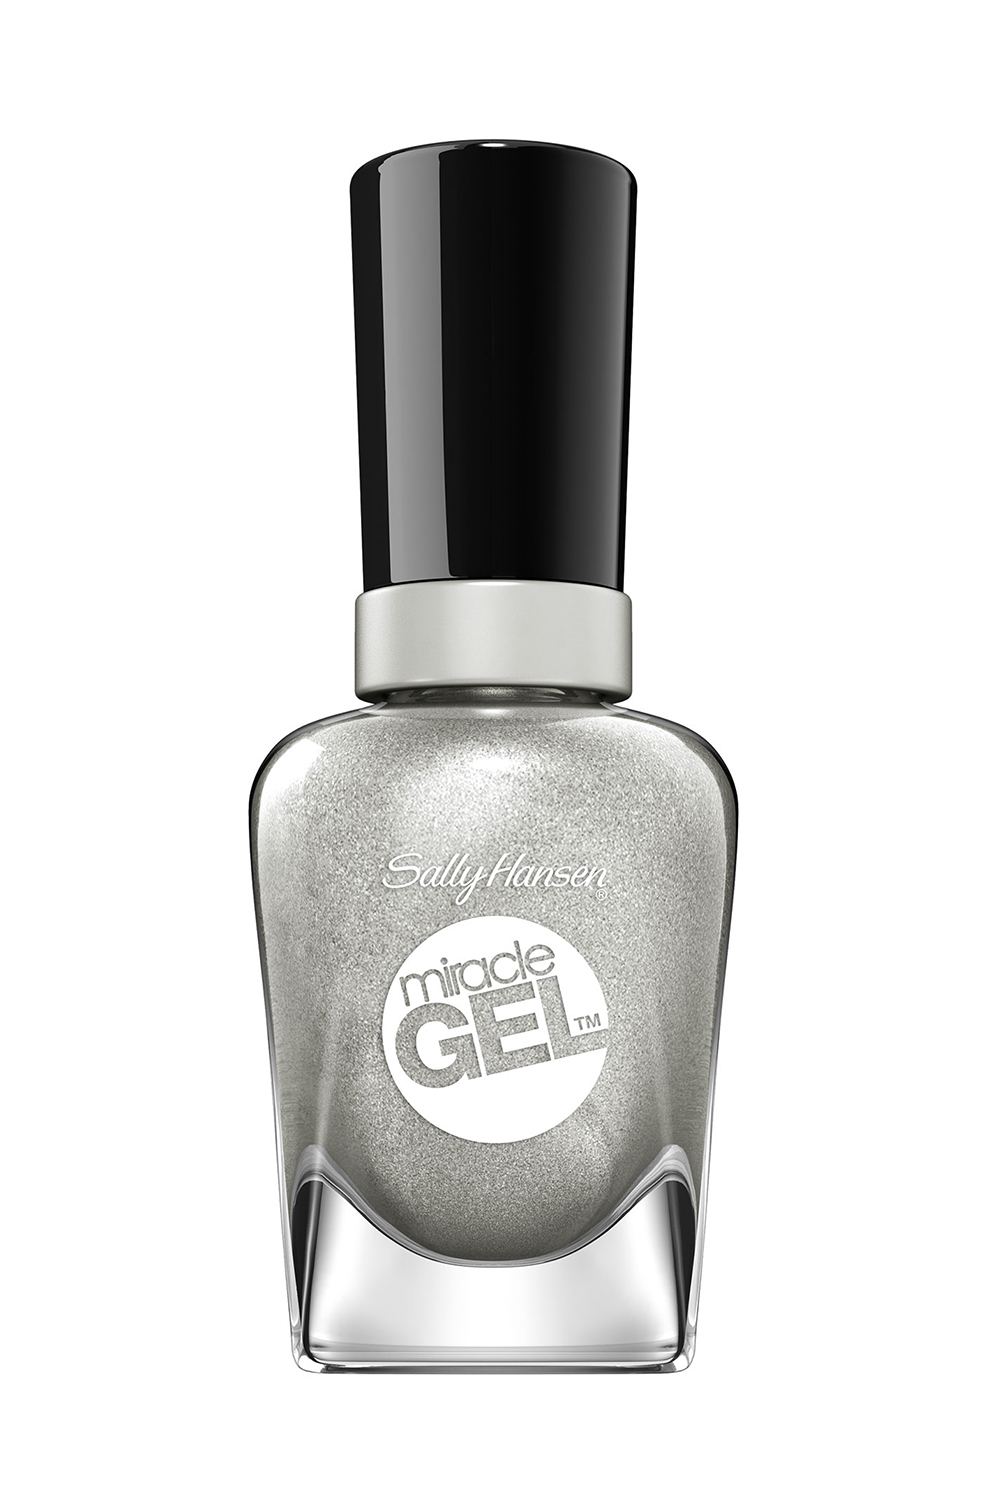
Step 5: Texturising
Swipe the metallic polish brush randomly over sections of the nail, switching up the position of swipes on each nail on both hands.
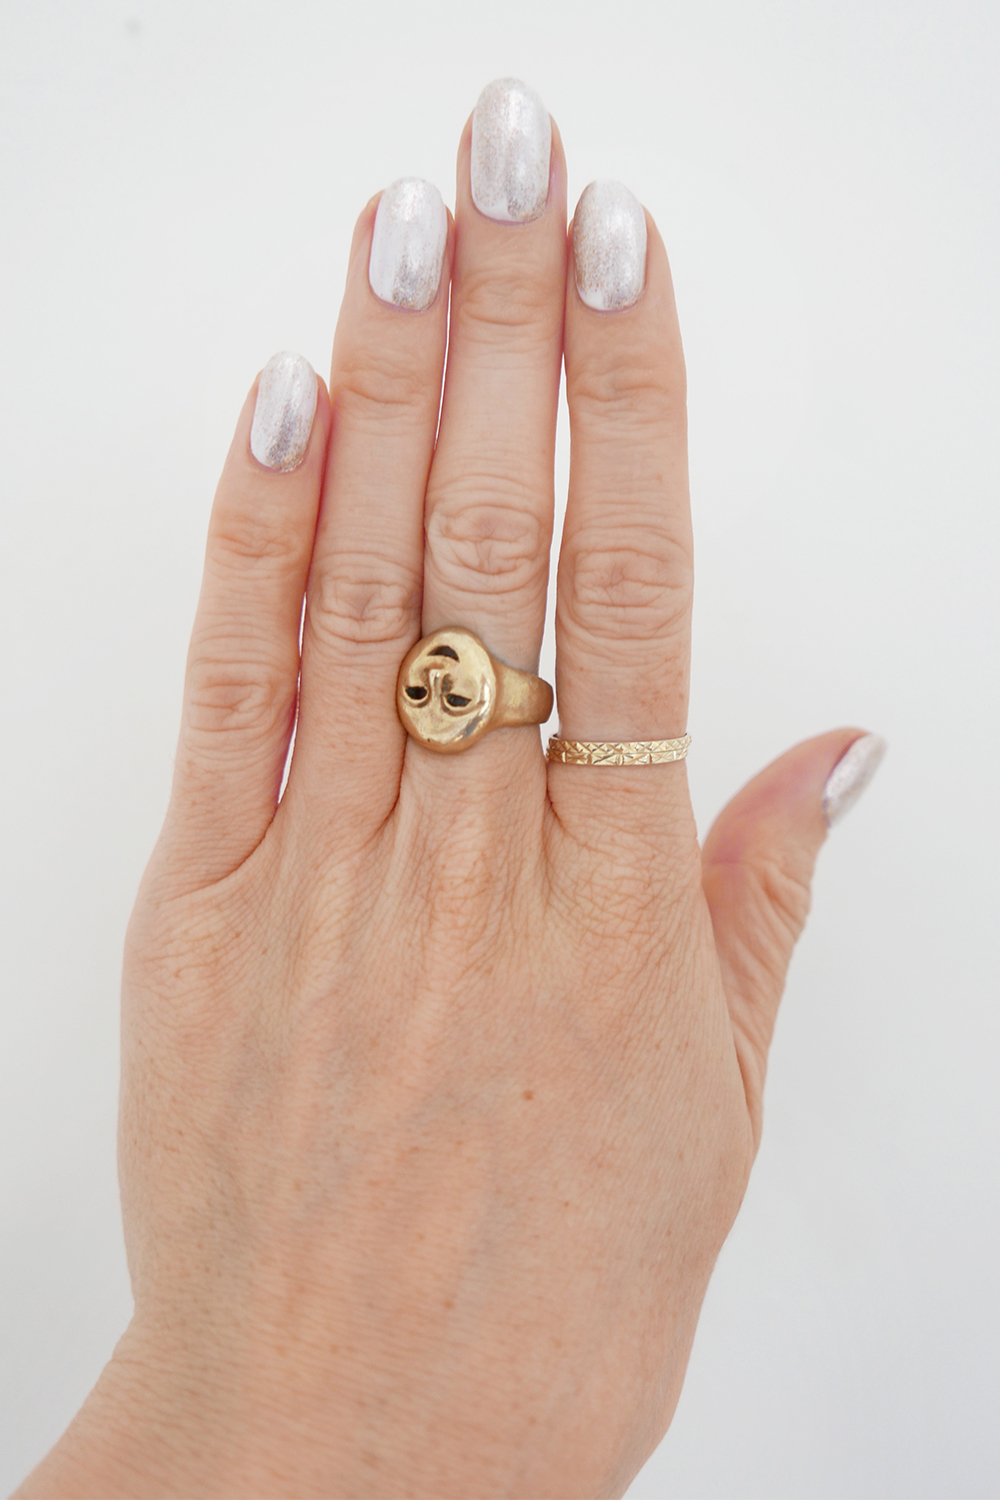
Final step: Finishing Touches
Max up the impact of your metallic nail by double layering the metallic polish in some areas to add texture and high-definition colour. Layer a second thin coat over sections of the nail you have already covered to texturise and amp up the contrast between shades.
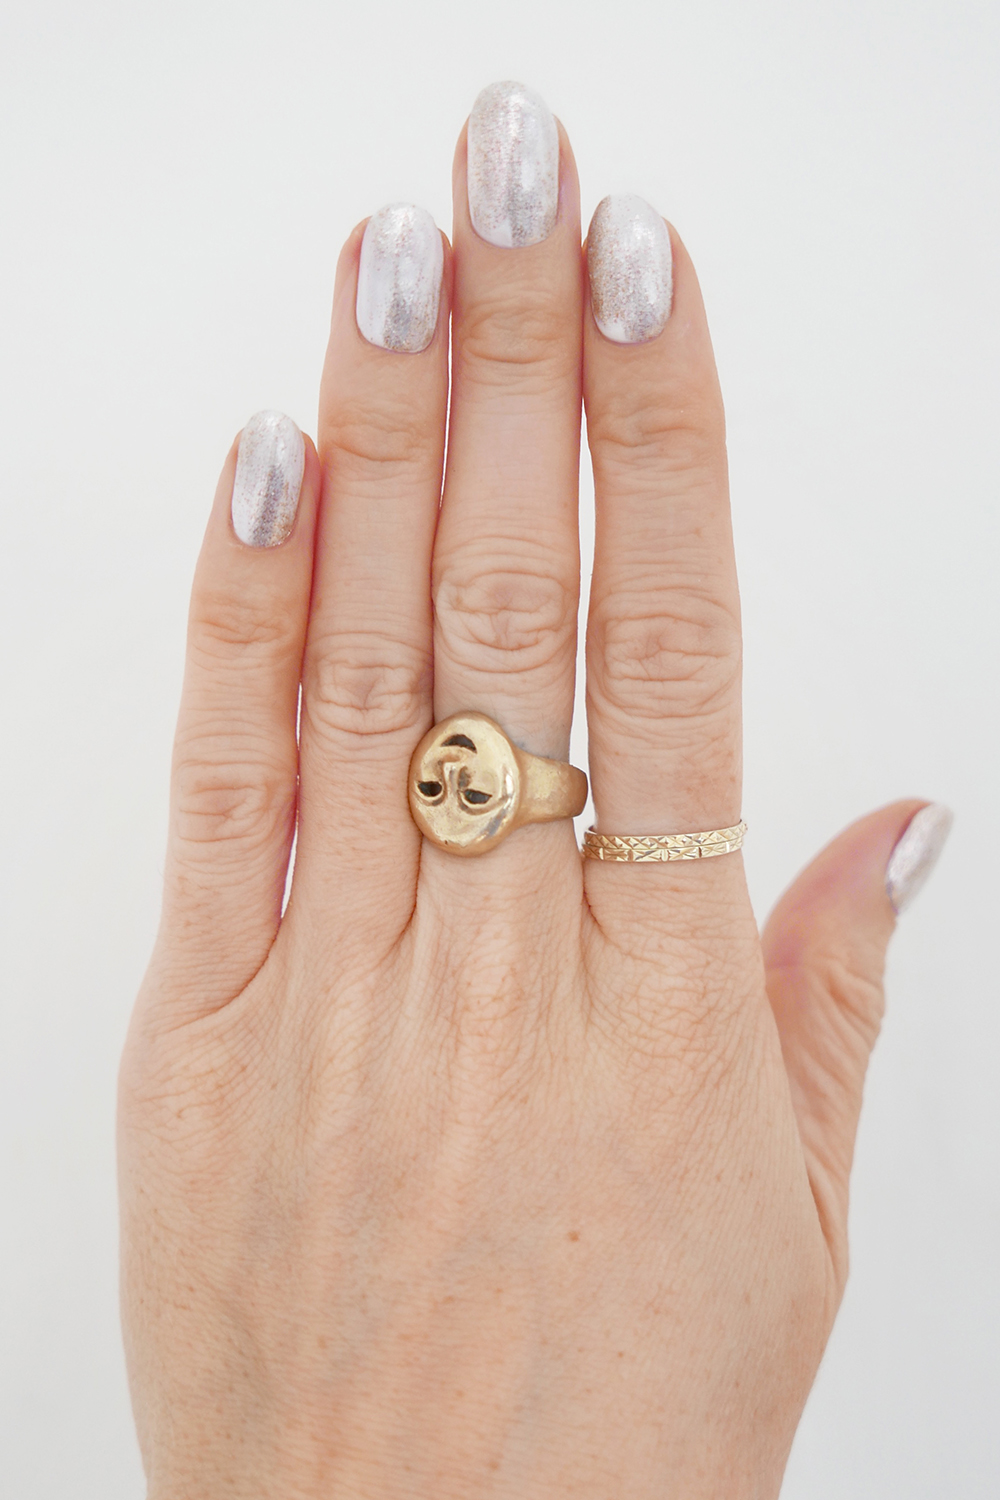
Voila! That’s our easy step-by-step guide to creating this season’s hottest nail trend, as seen on the Phillip Lim catwalk, at home.
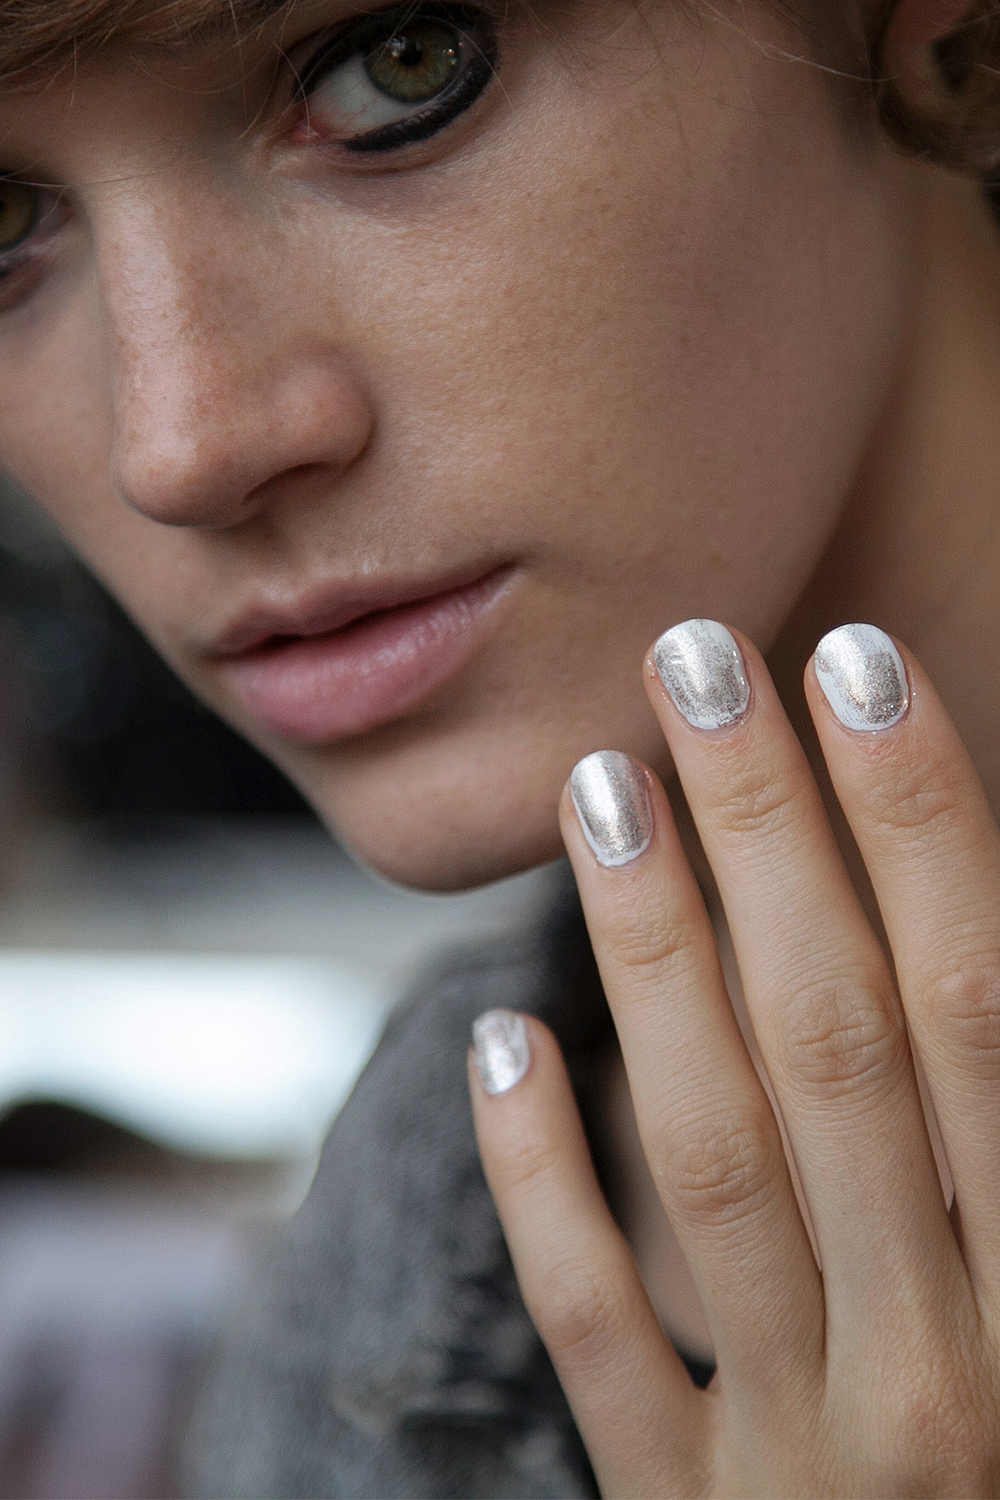
Images courtesy of Sally Hansen
The leading destination for fashion, beauty, shopping and finger-on-the-pulse views on the latest issues. Marie Claire's travel content helps you delight in discovering new destinations around the globe, offering a unique – and sometimes unchartered – travel experience. From new hotel openings to the destinations tipped to take over our travel calendars, this iconic name has it covered.