Become Your Very Own Nail Expert In 8 Simple Steps
Jenny Longworth, Revlon’s UK Ambassador, shares her trade secrets with Marie Claire.

Celebrity news, beauty, fashion advice, and fascinating features, delivered straight to your inbox!
You are now subscribed
Your newsletter sign-up was successful
Jenny Longworth, Revlon’s UK Ambassador, shares her trade secrets with Marie Claire.

You’ll know of Jenny Longworth’s work even if you don’t know the woman herself. She’s responsible for some of the most covetable nail designs, including those seen on the likes of Jessie J, Edie Campbell and Rihanna. Oh, and those gorgeous Moschino inspired nails above on model Sam Rollinson. She’s a backstage regular, too, and behind the looks of some of our most favourite shows such as SS15’s Marchesa and Sophia Webster.
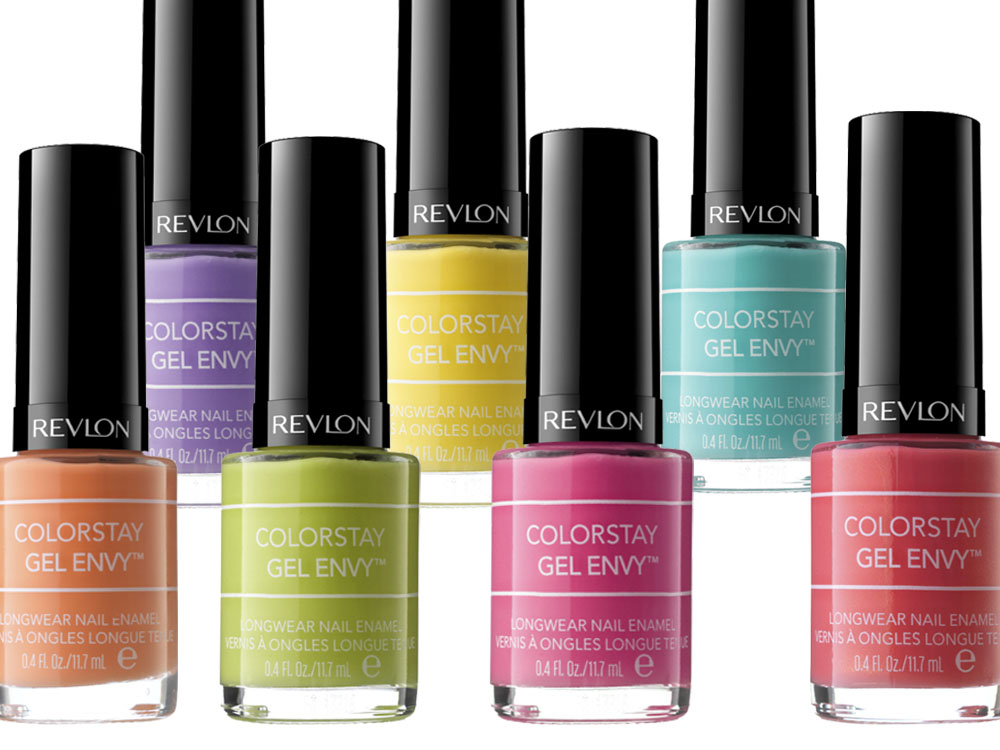
We caught up with the mega manicurist at the launch of Revlon’s new Colorstay Gel Envy Nail Enamel and asked her to share her tips – and dispel a few myths - to help us have the best nails ever.

STEP 1: File your nails into shape before you begin – make sure you remove any old nail polish, too. The shape isn’t particularly important but I find that it’s flattering if you mirror the shape of your cuticle. You can file your nails in both directions so long as you’re using a good quality, gentle nail file. If the file is particularly coarse then only file in one direction to avoid splitting the nail.
STEP 2: Buffing is good. It smoothes the nail and makes your polish last longer. I like to use white buffing blocks. Be careful though, don’t over buff or you’ll damage the nail. If you have ridges you might be tempted to buff them away completely but try not to, it will only weaken the nail. And whatever you do, don’t attempt to cut your cuticles, you can gently push them back but anything else should be left to a professional.
STEP 3: The next step is to ‘squeak’ the nail which basically means to get rid of any oil left on the nails so the polish adheres better. Saturate a cotton pad in nail polish remover and use it to push the cuticles back and clean under the free edge.

STEP 4: If you’re using a base coat, apply this now. However if you’re using something like the new Revlon ColorStay Gel Envy, £6.99 each, you won’t need a base coat as the formula is thicker and designed to adhere to the nail without staining.
Celebrity news, beauty, fashion advice, and fascinating features, delivered straight to your inbox!
STEP 5: Aim to paint your nail in just three strokes. Your first stroke should be down the middle, and the next down each side. It’s important to keep the polish on one side of the brush so you don’t overload it. For a professional finish place the loaded brush onto the nail near the cuticle and then it push back as close as possible to the cuticle as possible without touching it. If you get polish on the cuticle it looks really messy. A professional finish has clean edges without touching.
STEP 6: To prevent smudging always start with your little finger and then work your way towards your thumb. If you do this you won’t cross over painted nails and risk smudging the colour.
STEP 7: Once you have applied your first coat, go straight in with your second. You don’t have to wait for your first coat to dry.
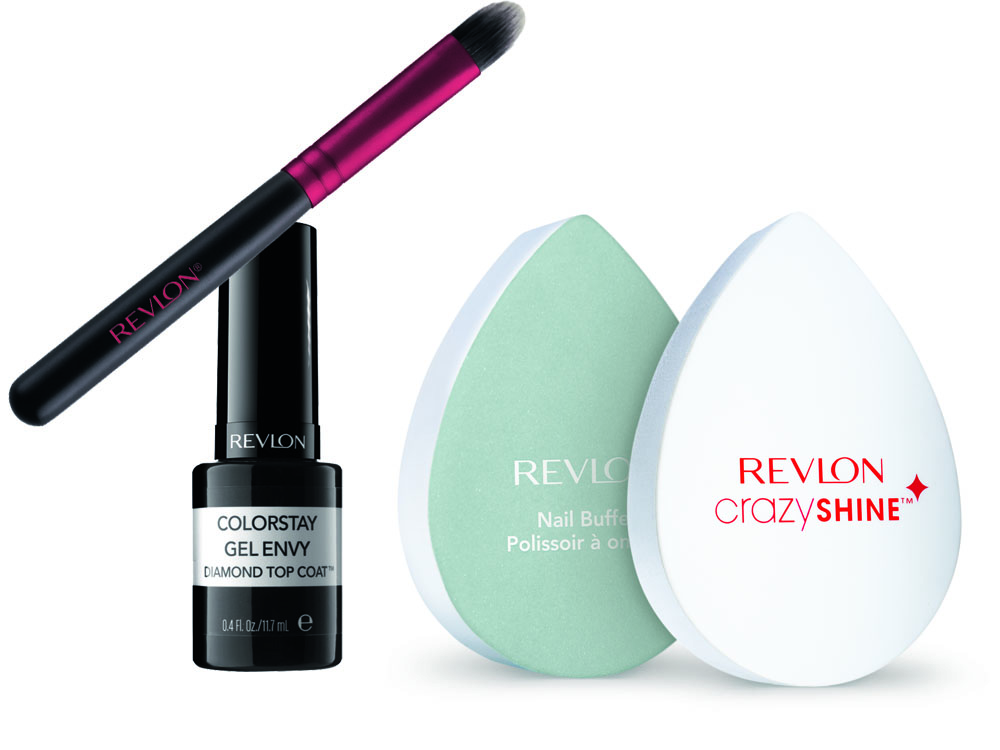
STEP 8: Before sealing everything in with your basecoat you should tidy up the edges. Use a fairly stiff, small make-up brush dipped in nail polish remover to sweep around the sides of the nail and remove any polish from your skin. I love the Revlon Concealer Brush, £3.99. It’s perfect for this job.

STEP 9: Now it’s time for your topcoat. Use less pressure with this layer than you would with the colour to allow it the naturally cover and coat the nail. Make sure you run the brush along the tip of your nail to cap it and make the colour less likely to chip.
STEP 10: Wait at least two minutes before running over the nails with Revlon Quick Dry Top Coat, £6.49. This product cleverly contains oil as well so it will rehydrate the skin around the nails as well as making them instantly touch-dry.
The leading destination for fashion, beauty, shopping and finger-on-the-pulse views on the latest issues. Marie Claire's travel content helps you delight in discovering new destinations around the globe, offering a unique – and sometimes unchartered – travel experience. From new hotel openings to the destinations tipped to take over our travel calendars, this iconic name has it covered.